Important Safety Warnings:
- Only use power sources within range of **6V to 18V** and rated to provide at least **1.5 Amps**. - The Lens Heater is not a toy. Please keep out of reach of children and pets. - Disconnect any batteries if not being used. - The Lens Heater is **not waterproof**. Please keep it dry and do not expose to water or other liquids. - Do not disassemble or attempt to modify the Lens Heater. # Getting Started This section covers the system components and provides step-by-step usage instructions for setting up the Lens Heater controller. # Components The Lens Heater system consists of: 1. **Lens Heater Controller** 2. **Lens Heater Strip** #### **1. Lens Heater Controller** USB Type A Socket, 5V Power Output 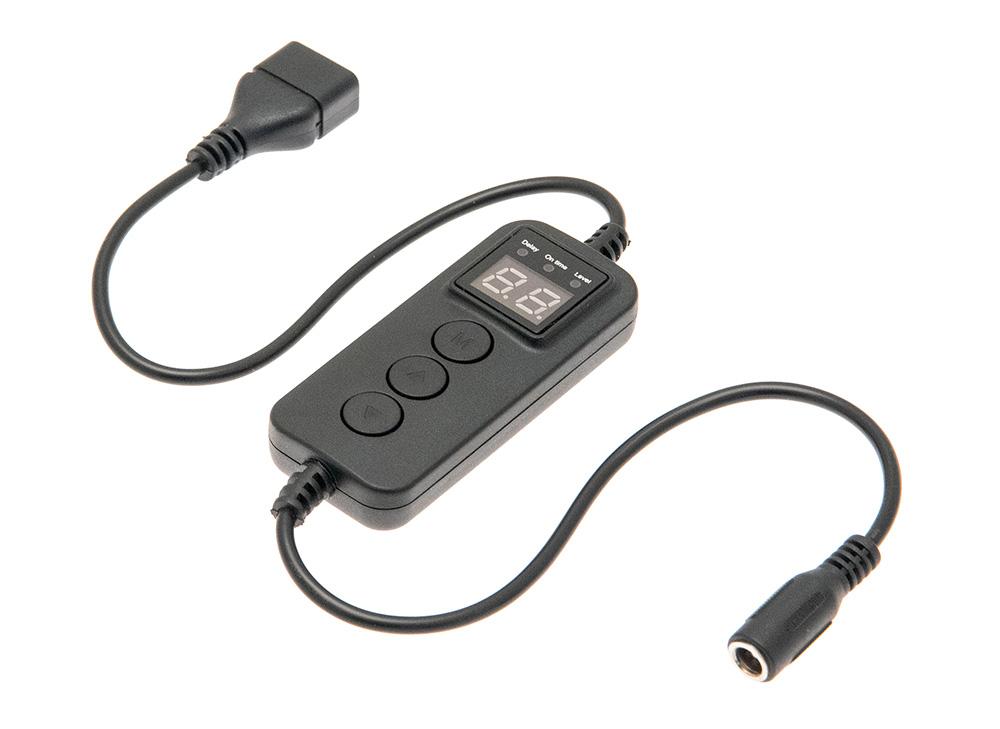 DC 5.5mm x 2.5mm female socket, 6V–18V Power Input #### **2. Lens Heater Strip** 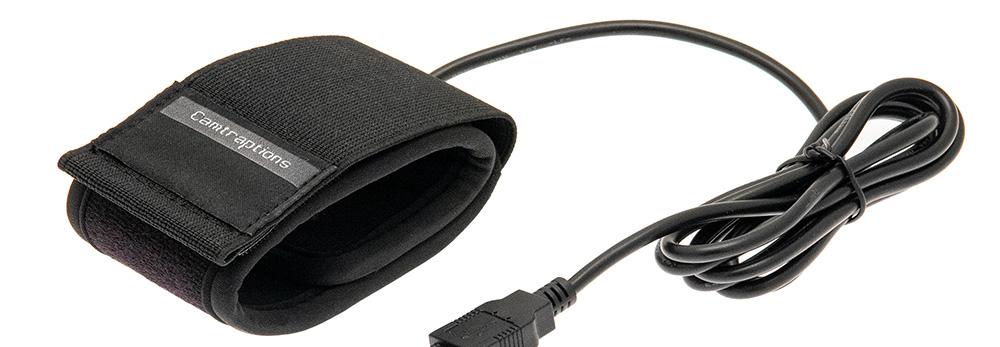 # Usage Instructions #### **Initial Setup** First, connect the USB connector of the **Lens Heater Strip** into the **USB Power Output** socket of the **Lens Heater Controller**. Next, connect a suitable power source to the **Power Input** socket of the Heater Controller. The power source must have a voltage between **6V to 18V** and be rated to provide at least **1.5 Amps** of continuous current. As soon as power is connected, the Heater Controller's LCD display will light up red and the controller will enter into the programming stage. #### **Programming the Controller** There are three settings that can be altered: **Delay**, **On time** and **Level**. Press the **M** button to cycle through these three settings. A red light will glow next to the currently selected setting. Press the **▲** button to increase the current setting. Press the **▼** button to decrease the current setting. #### **Setting Descriptions**| **Setting** | **Range** | **Description** |
|---|---|---|
| **Delay** | 0–24 | Number of hours the controller should remain inactive (not heating) before heating begins |
| **On time** | 0–24 | Number of hours the controller will remain active (heating) after the Delay period ends |
| **Level** | L1, L2, L3 | Heating power level (**L1** = lowest/most efficient, **L3** = highest/least efficient) |
Note: The total "Delay" plus "On time" cannot exceed 24 hours.
#### **Starting the Program** Once the desired **Delay**, **On time** and **Level** have been set, you should not press any buttons on the Heater Controller. The heating program will commence running **1 minute** after the last button-press occurred, and the LCD display will shut off to conserve energy. #### **Changing Settings** If the heating program has already commenced and changes subsequently need to be made to the **Level**, **Delay** or **On time**, then the power source should be disconnected and reconnected to ensure that the new settings are registered correctly. # Examples This section provides practical programming examples showing common heating schedules for different field conditions. # Programming Examples ### **Example 1 – Permanent Gentle Heating** **Scenario:** The time is currently 08:33. I want the Lens Heater system to start warming my equipment immediately and to remain heating permanently (but only on a low power) until the battery is exhausted or until I disconnect the power later on. **Required settings:** - **Delay**: 0 - **On time**: **24** - **Level**: **L1** **Result:** After I finish entering the above settings, I press no more buttons on the Heater Controller and the time is now 08:34. At 08:35 the Heater Controller's LCD display will turn off and the system will start to provide gentle heating. The heating will be provided continuously until the power is disconnected or the battery is exhausted. --- ### **Example 2 – High Power Heating During the Night** **Scenario:** The time is currently 14:10. I want the Lens Heater system to start warming my equipment 10 hours from now at approximately midnight and to remain heating on high power until the morning. Heating will remain off tomorrow during the day and it will switch back on again tomorrow at midnight, heating through the night again until the morning, and so on. **Required settings:** - **Delay**: **10** - **On time**: **7** - **Level**: **L3** **Result:** After I finish entering the above settings, I press no more buttons on the Heater Controller and the time is now 14:11. At 14:12 the Heater Controller's LCD display will turn off, and the heating system will remain inactive for 10 hours. At 00:12 the heating will begin on high power (**L3**) and remain on for 7 hours until 07:12. Heating will remain off for 17 hours until 00:12, at which point the heating will begin again on high power (**L3**). This 24-hour loop will continue until the power is disconnected or the battery is exhausted.