| **C Var** | **Description** | **Default Value** | **Adjustable Range** |
|---|---|---|---|
| 0 | **[Sampling Frequency / Adaptive Sensitivity](https://docs.camtraptions.com/books/pir-v4-manual/page/custom-variable-0 "Custom Var 0")** – Fine-tune the sensor sensitivity and response speed. | 8 | 1-16 |
| **1** | [**Half-Press Length (Before Full Press)**](https://docs.camtraptions.com/books/pir-v4-manual/page/custom-variable-1 "Custom Var 1") – Determines how long the half-press (wake) signal is held before the full-press trigger in both still and video modes. | 0.1 s | 0.1–5.0 s (in 0.1 s steps) |
| **2** | **Half-Press Length (After Full Press)** – Determines how long the half-press signal is held after the full-press trigger in both still and video modes. | 0.1 s | 0.1–5.0 s (in 0.1 s steps) |
| **3** | **Full-Press Duration (Still Mode)** – If enabled, this overrides the full-press timing determined by the FPS setting. | — | 0.1–2.9 s (in 0.1 s steps) |
| **4** | **Gap Between Full-Press Signals (Still Mode)** – When *Number* (NUM) > 1, this defines the interval between shots. If enabled, it overrides the FPS-determined interval. | — | 0.1–15.0 s (in 0.1 s steps) |
| **5** | **Full-Press Duration (Video Mode)** – Defines how long the full-press signal is held when starting or maintaining a video recording. | 1.0 s | 0.1–2.9 s (in 0.1 s steps) |
| **6** | **Maximum Video Length Extension Limit** – Sets an absolute maximum video extension length in minutes. This limits the total recording duration when *Extend Time* is enabled. The maximum recording time will be this variable plus the standard [recording time](https://docs.camtraptions.com/books/pir-v4-manual/page/video-mode-settings "Video Mode Settings"). | — | 1–60 min |
| **7** | [**Flash Wake / Flash Fire Signals**](https://docs.camtraptions.com/books/pir-v4-manual/page/custom-variables-7-and-8 "Custom Var 7 and 8") – Controls whether flash trigger signals are sent during still sequences: • 0 – No flash wake or fire signals sent. • **1** – A 0.2 s **Flash Wake** signal is sent immediately before the **first** camera trigger signal in any still sequence. • **2** – A 0.2 s **Flash Wake** signal is sent immediately before the **first** camera trigger signal, and a 0.2 s **Flash Fire** signal is sent after **every** camera trigger signal in the sequence. | 0 | 0–2 |
| **8** | [**Flash Signal Channel**](https://docs.camtraptions.com/books/pir-v4-manual/page/custom-variables-7-and-8 "Custom Var 7 and 8") – Sets the **wireless channel** (1–15) used for the Flash Wake and Flash Fire signals defined by C Var 7. This should be set to a different channel than the [main camera trigger channel](https://docs.camtraptions.com/books/pir-v4-manual/page/wireless-channel "Wireless Channel"). | — | 1–15 |
| **9** | **Wireless Power Boost** – When set to "1", this setting increases the strength of the wireless signal to improve reliability in setups where there may be signal interference, long distances, or obstructions between the sensor and the receiver. This is an **experimental option** intended primarily for troubleshooting wireless connectivity issues. In most circumstances, the default power level provides the best balance between range, battery efficiency, and signal stability. | 0 | 0–1 |
Adjusting Custom Variables can affect the timing of the camera’s wake, trigger, and release signals.
# Custom Variable 0 The **C Var 0** menu screen allows you to adjust how **responsive** the sensor is to motion across both lenses. It controls how **frequently** the sensor is taking measurements to look for **movements** (changes in infrared radiations) across its field of view. Taking more frequent measurements means that the sensor will be able to pick up **smaller or more fleeting movements** that might otherwise be missed if it is sampling less frequently. This is different to the **main [far](https://docs.camtraptions.com/books/pir-v4-manual/page/far-sensor "Far Sensor") & [wide](https://docs.camtraptions.com/books/pir-v4-manual/page/wide-sensor "Wide Sensor") sensitivity setting** which relate to the **amplitude** of the infrared signal required to trigger the sensor, i.e. how **warm, large or close** the subject must be. 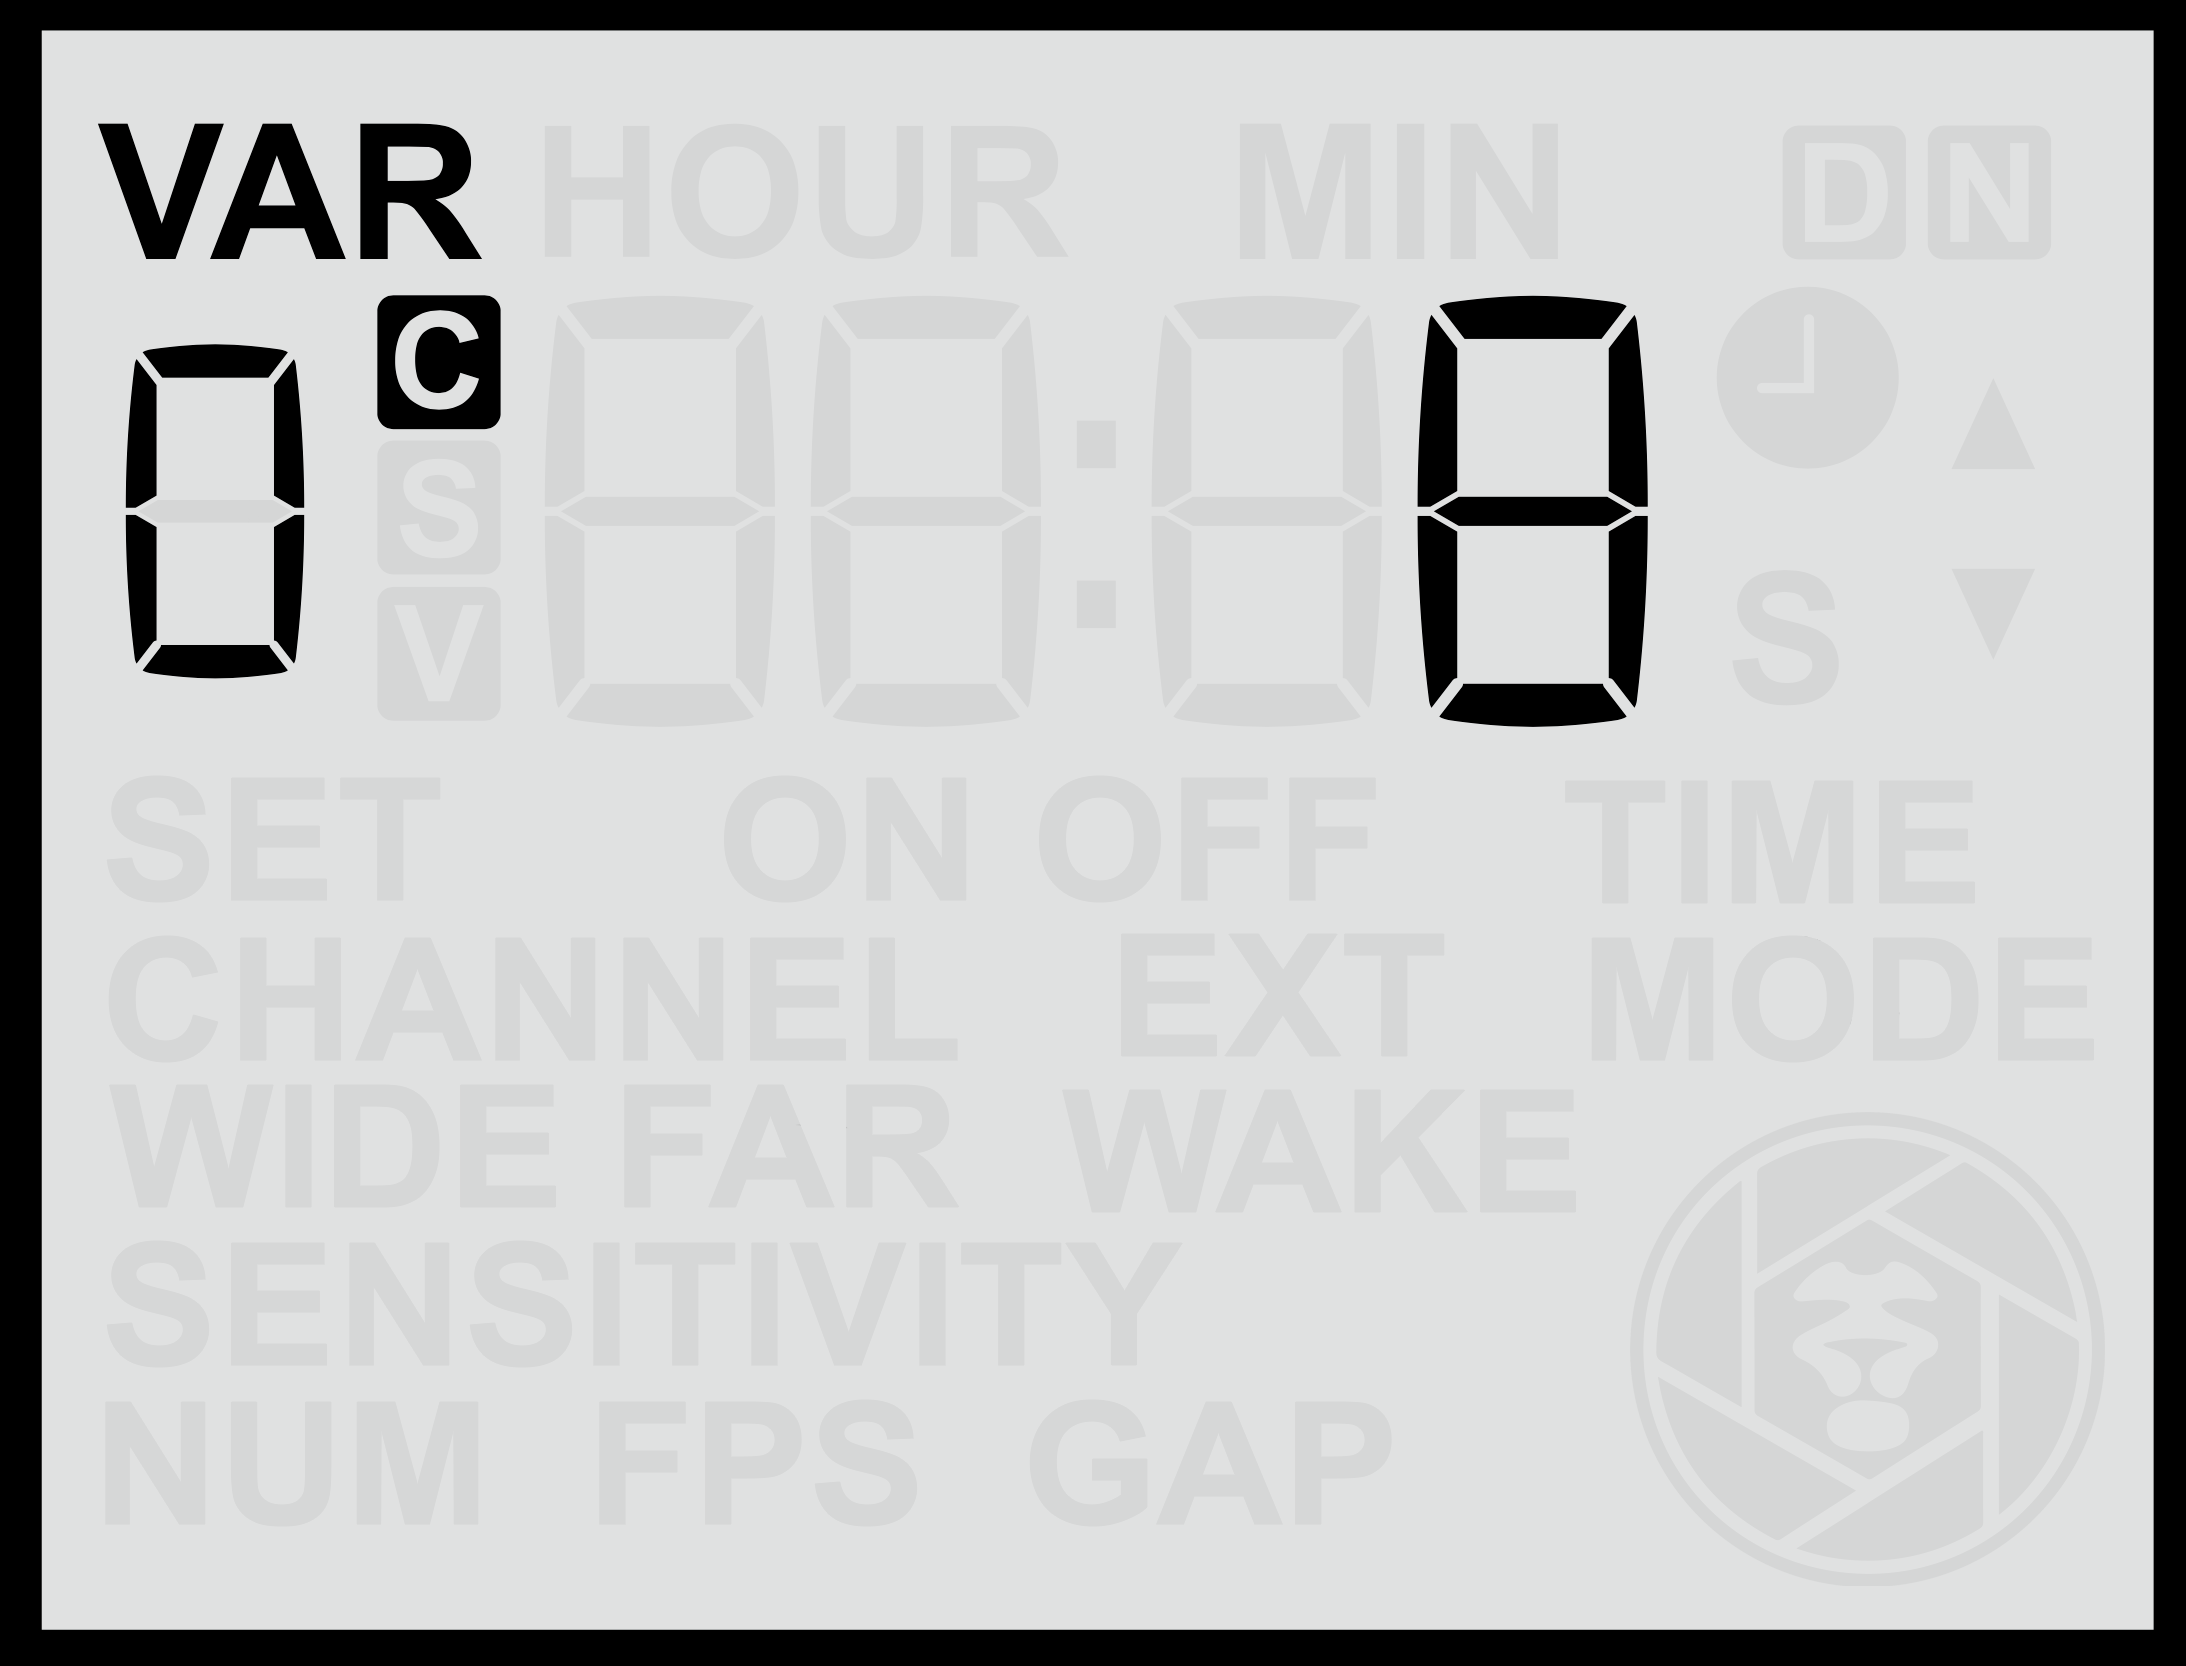 #### **Adjusting Sampling Frequency** 1. From the **C Var 0** screen, use the **Up** or **Down** buttons to change the value. 2. Press the **Set** button to **save** your selection. Sampling Frequency can be set between **1** and **16** (the default is 8), where: - **16** = Maximum sampling frequency (the sensor will detect faster, smaller and more momentary movements). - **1** = Minimum sampling frequency (requires slower, larger and more pronounced movement to trigger). At higher sampling frequencies, the sensor will consume slightly more power and may be more susceptible to false triggering from wind, vegetation or dappled light, but it will be more effective at detecting small, rapidly moving subjects. Therefore, you should look to optimise the sampling frequency based on the intended subject, the environmental conditions and your battery life requirements. #### **Adaptive Sensitivity Mode** The sensor also features an **Adaptive Sensitivity** algorithm designed to help reduce false triggers in challenging environments. To enable or disable Adaptive Sensitivity: - **Hold** either the **Up** or **Down** button for more than **2** **seconds** while on the **C Var 0** screen. - When active, the display will show the **“ON”** indicator for Adaptive Sensitivity. 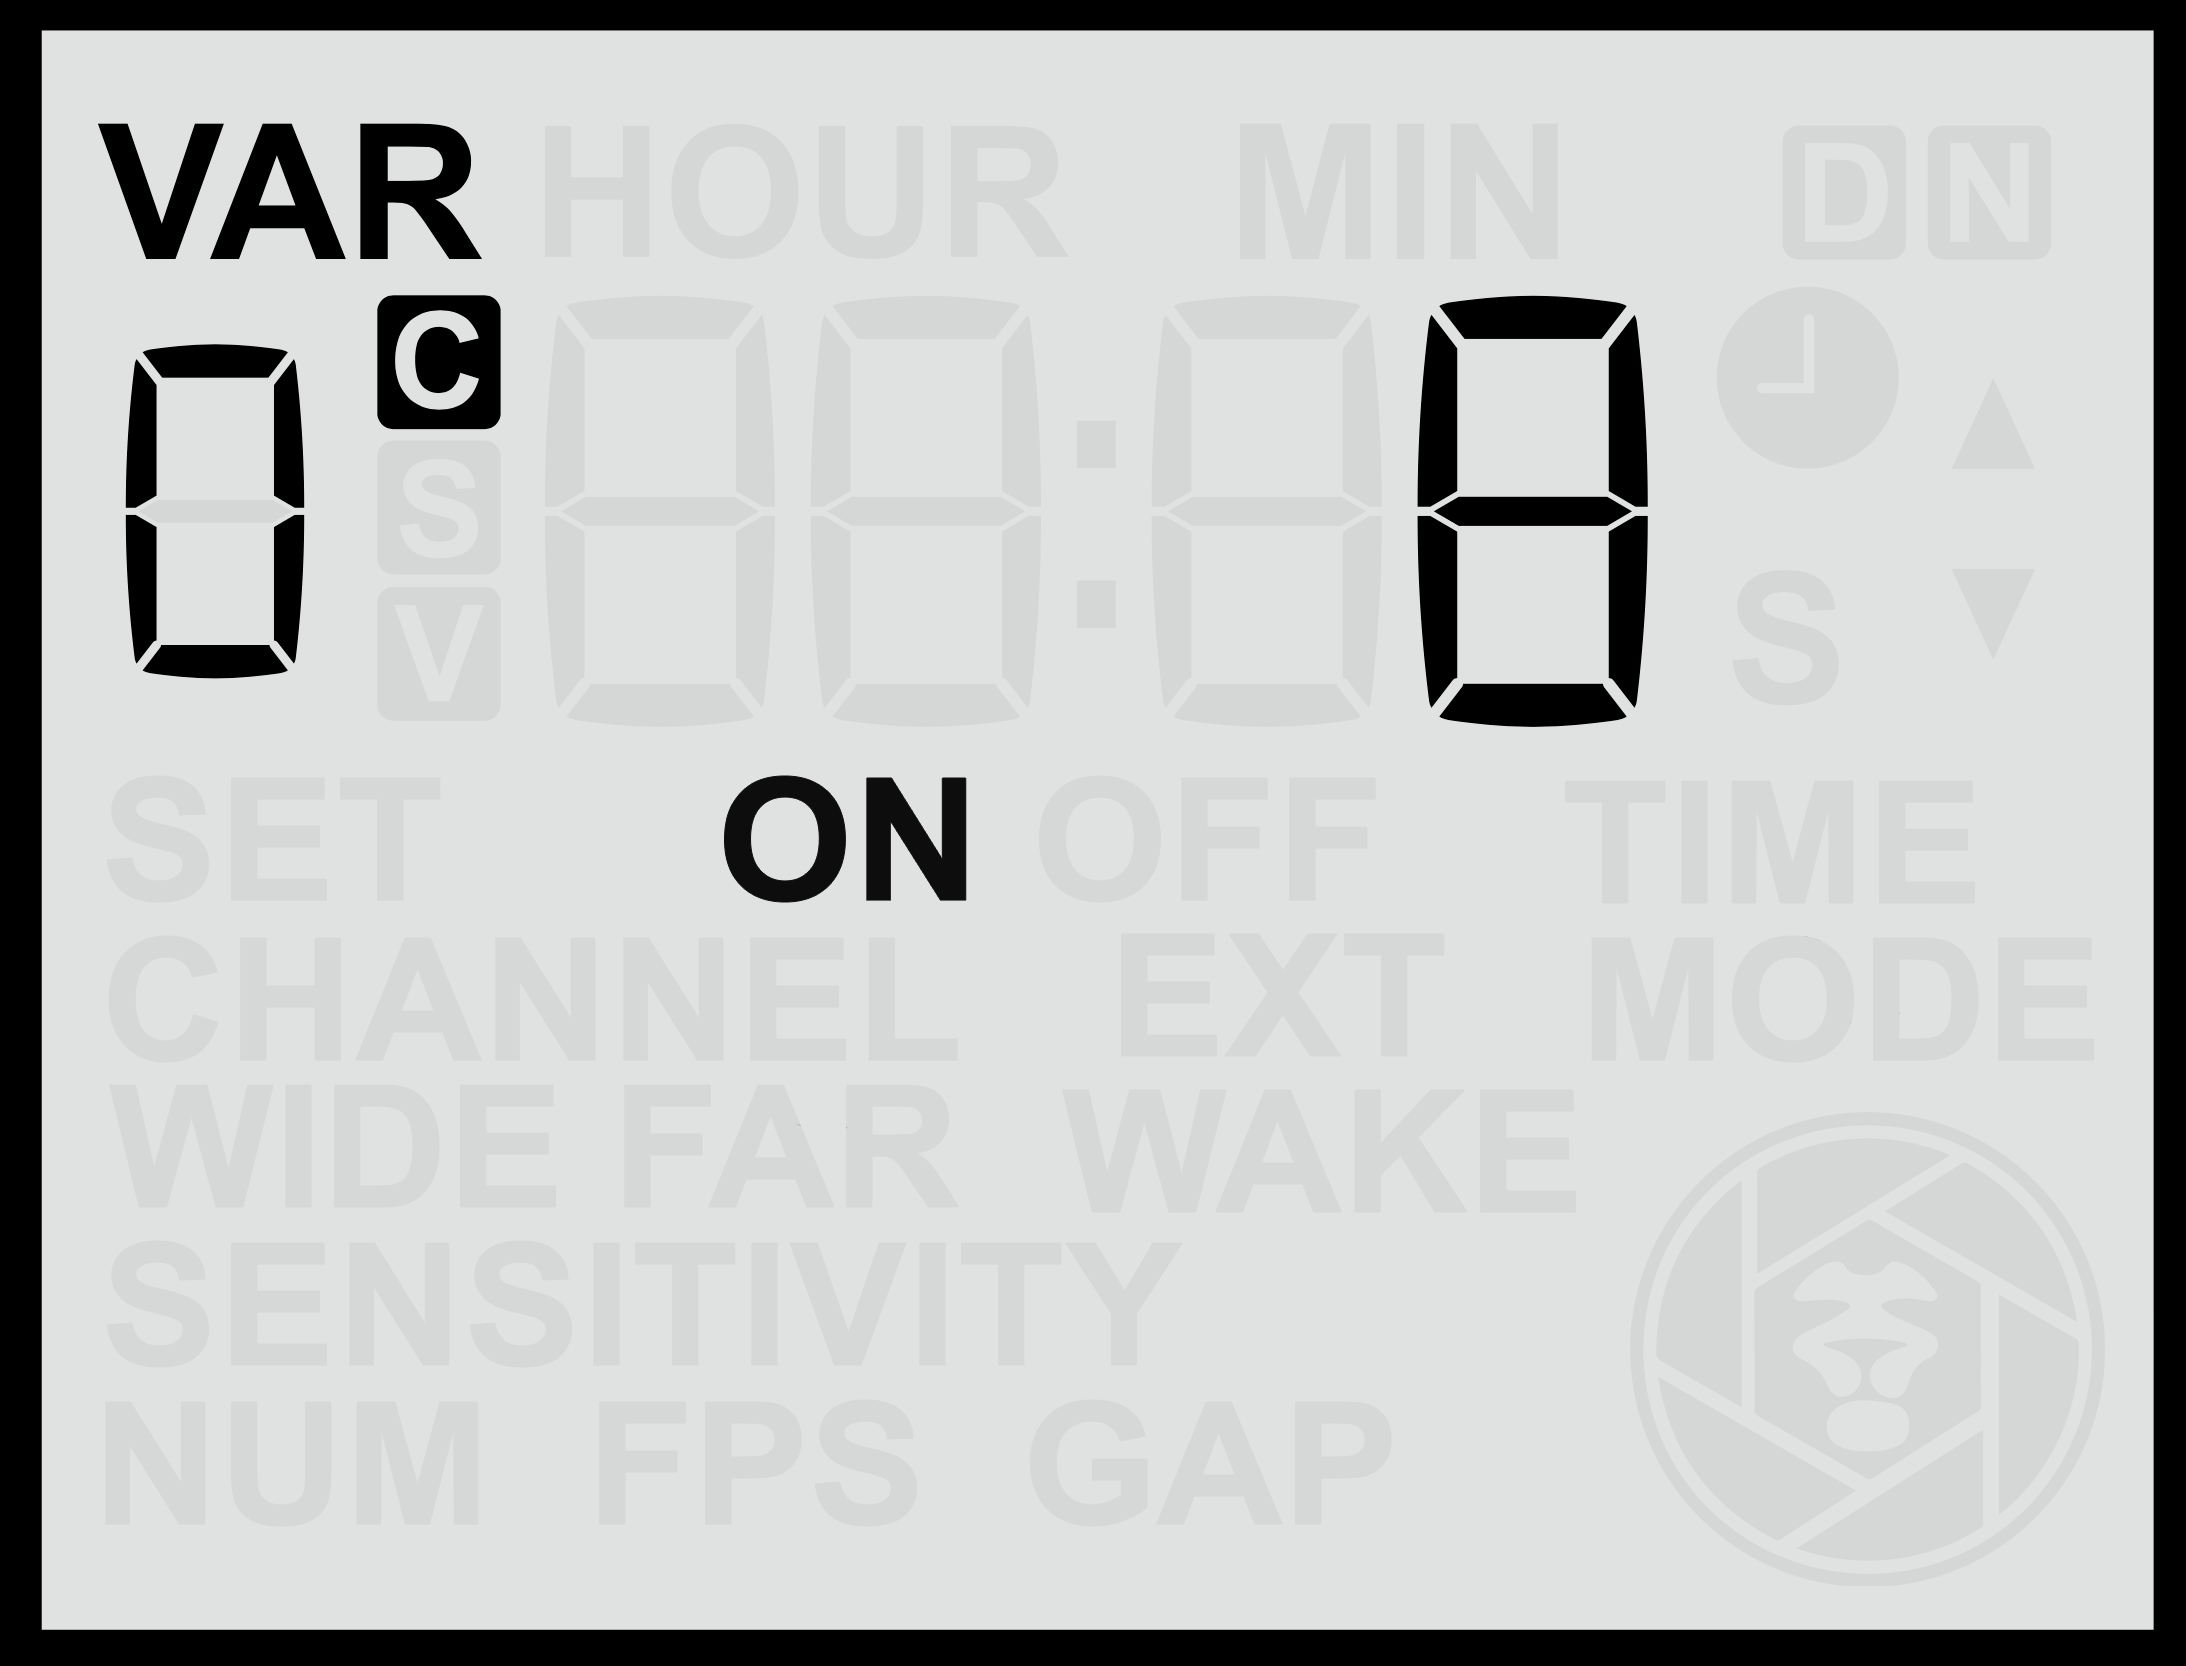 In this mode, the sensor dynamically adjusts its primary sensitivity thresholds, i.e. the thresholds that relate to the main [far](https://docs.camtraptions.com/books/pir-v4-manual/page/far-sensor "Far Sensor") & [wide](https://docs.camtraptions.com/books/pir-v4-manual/page/wide-sensor "Wide Sensor") sensitivity settings (**not** the sampling frequency) in response to background activity levels: - If there is **persistent low-level motion or heat variation** (for example, caused by wind-blown vegetation or rising warm air during the middle of the day), the trigger threshold is automatically increased. - When background movement decreases, the sensor gradually lowers the threshold again. This adaptive behaviour helps the sensor remain effective while **reducing false detections** under fluctuating environmental conditions. In most circumstances, **Normal Sensitivity Mode** provides sufficient control. However, if false triggers occur intermittently — such as at certain times of day or under windy or hot conditions — **Adaptive Sensitivity Mode** could improve reliability. # Custom Variable 1 ### **Using Half-Press Duration for Autofocus (C Var 1)** **C Var 1** controls the **length of the half-press (HP)** signal that is sent to the camera before the full-press (FP) trigger. By extending this half-press duration, the sensor gives the camera time to perform **autofocus** functions before the image is taken. With newer **mirrorless cameras** offering highly advanced autofocus systems — including **animal-eye detection** — this feature allows autofocus to be used in camera-trap setups for the first time. When the half-press signal is active, the camera can detect and focus on the subject before the shutter is triggered, enabling the possibility of shooting with a **shallow depth of field** and precise eye focus, creating images that differ greatly from traditional manual-focus camera-trap photos. #### **Practical Considerations** - **Focus reliability:** Autofocus-based setups are inherently less reliable than manual focus. Some images may be misfocused if the camera fails to detect the correct point of interest or locks onto background elements. - **Lighting:** Autofocus requires **continuous light** to function. For nighttime use, **video lights** may be necessary, as flashes alone will not provide light until after focus is attempted. - **Timing:** The optimal half-press duration depends on the camera model and lens. Mirrorless cameras typically require between **0.2 s and 1 s** for accurate subject detection and focus acquisition. This setting introduces a new creative approach to camera trapping — enabling **autofocus precision** and **shallow-depth-of-field imagery** previously impractical with PIR triggers. While manual focus remains the most dependable method for critical work, **C Var 1** offers an exciting opportunity to experiment with modern autofocus systems for more dynamic and cinematic results. # Custom Variables 7 and 8 ### **Wireless Flash Wake and Flash Fire (C Var 7 & C Var 8)** **C Var 7 and 8** provide advanced control for managing external flashes, particularly in situations where the **camera cannot wake or trigger flashes automatically**. This feature is especially useful with **Sony cameras**, which do not send a wake signal to flashes before triggering them. While flashes such as the **Camtraptions F1** and **Z2** do not require a wake signal, the **Camtraptions Z Pro** achieves much longer standby times by entering a low-power sleep mode. As a result, it must be **woken** before it can be triggered. In such cases, the **sensor** can take over flash control independently: - **C Var 7 = 1:** The sensor sends a **0.2 s Flash Wake signal** immediately before the **first** camera trigger signal in any stills sequence. This wakes compatible flashes (such as the Z Pro) so that they are ready when the **camera** sends its normal shoot signal. - **C Var 7 = 2:** The sensor sends both a **Flash Wake signal** before the **first** camera trigger signal **and** a **Flash Fire signal** after **every** camera trigger signal. In this configuration, the **camera does not need to send any flash trigger signal**—the sensor handles all flash timing directly. The **wireless channel** used for these **flash signals** is defined by **C Var 8**, which can be set between **1 and 15**. This should be set to a **different channel** than the [main camera trigger channel](https://docs.camtraptions.com/books/pir-v4-manual/page/wireless-channel "Wireless Channel"). The **C Var 7 = 2** configuration is particularly effective for **night-time photography**, where **long shutter speeds** allow the flash to fire during the exposure window. As long as the **shutter speed is longer than the Full-Press duration**, the flash will fire within the open exposure, even when the camera itself is not controlling the flash. The Full-press duration can be customised using C Var 3 so that the flash fires as quickly as possible after the camera shutter opens. This setup provides a **reliable and flexible method** to trigger flashes entirely via the sensor, simplifying configurations where cameras have limited flash-control capabilities or when using **off-camera flash systems** in low-light environments. # Reset to Defaults From the **Custom Variables (C Var)** menu, if you continue scrolling past the last C Var entry, you will reach a screen labelled **“reset”**. This screen allows you to **restore all sensor settings to their factory defaults**. This is useful if many settings or Custom Variables have been adjusted and you want to quickly return the sensor to its original standard behaviour. 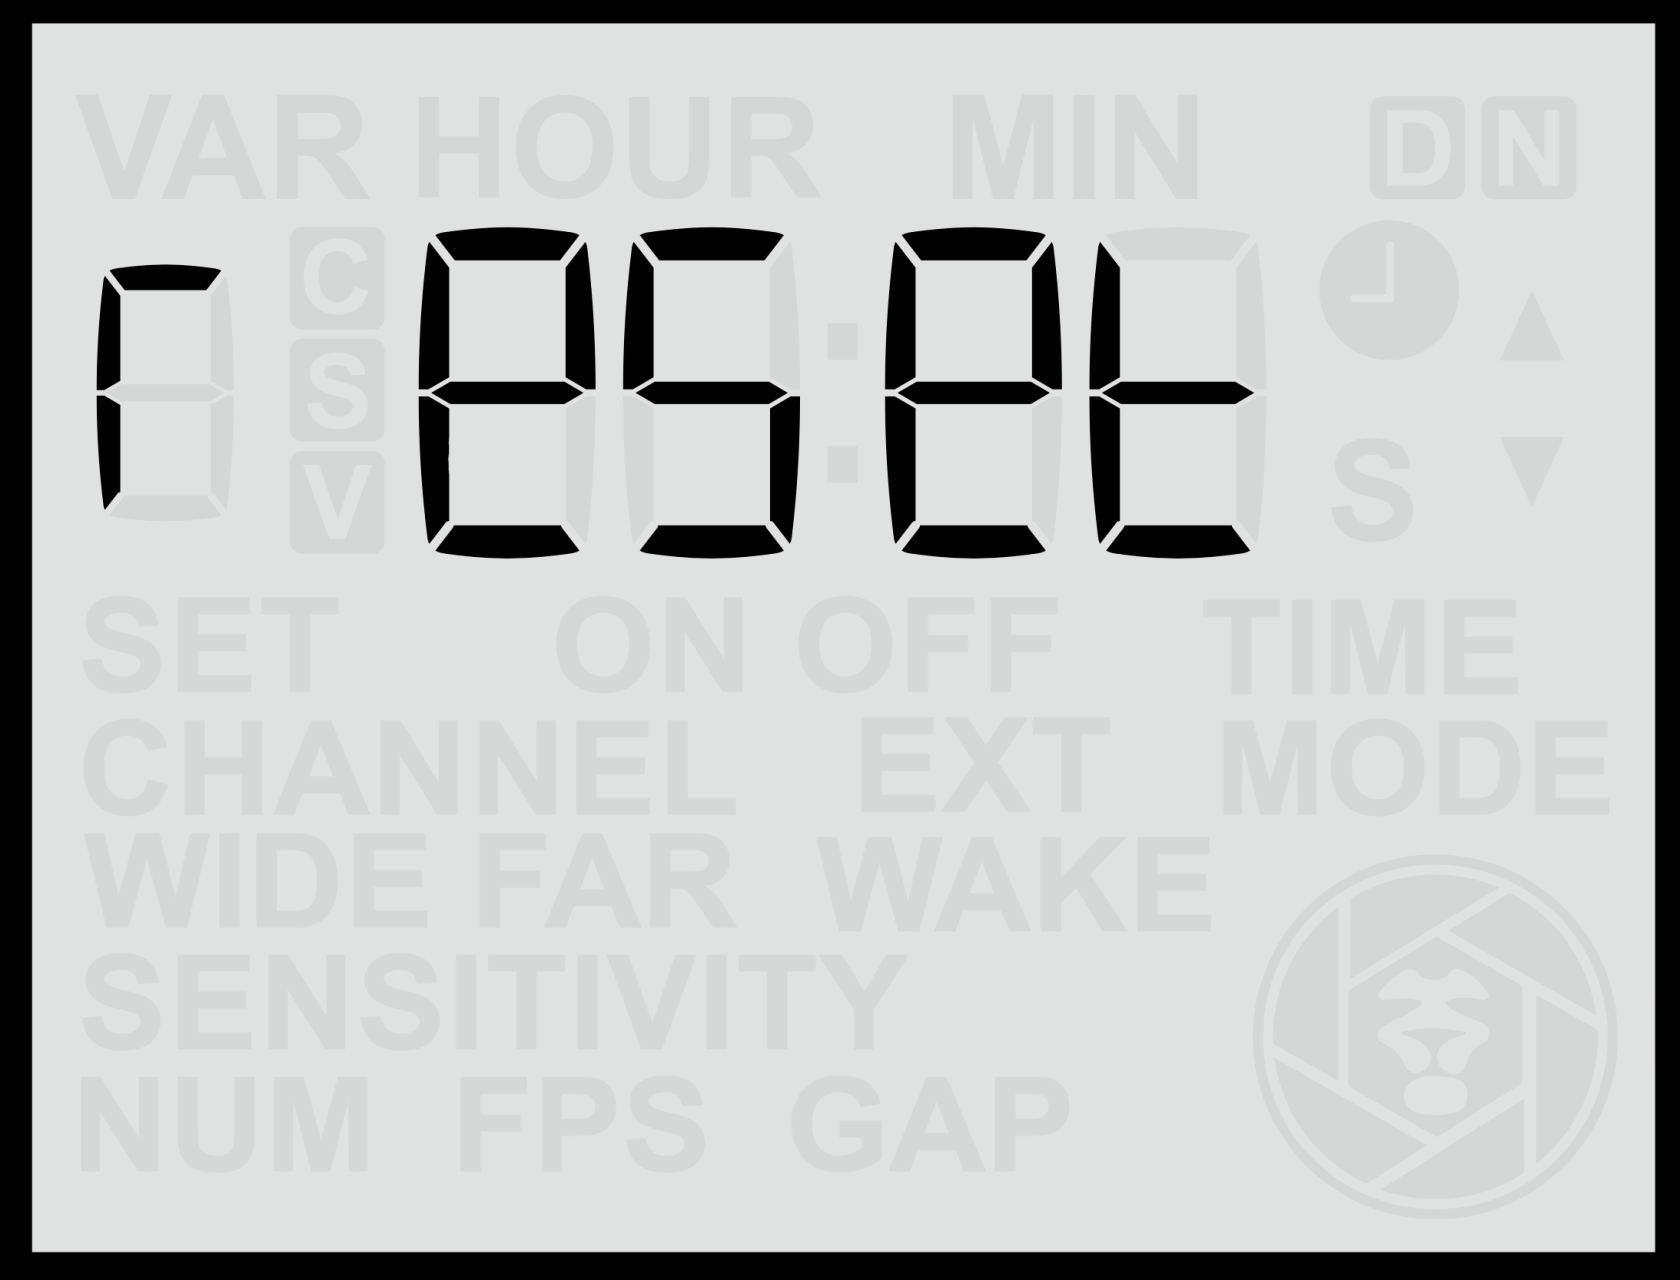 #### **Performing a Reset** 1. Navigate to the **Custom Variables (C Var)** menu. 2. Continue scrolling using the **Right Arrow** until you reach the **“reset”** screen. - The word **“reset”** will appear **without blinking**. 3. Press the **Up** or **Down** button once — the word **“reset”** will begin **blinking**, indicating that the reset function is armed. 4. Press the **Set** button to confirm. - The text **“reset”** will disappear. - The **clock symbol** will blink for approximately **3 seconds**, indicating the reset is in progress. - When complete, the sensor will automatically return to the **Home Screen**. #### **Cancelling a Reset** If, while **“reset”** is blinking, you press **Left** or **Right** instead of **Set**, the screen will move back to the previous or next C Var setting, and **no reset will be performed**. #### **Notes** - Resetting the sensor restores **all user-configurable options** (including Global, Still, Video, and Custom Variable settings) to their **factory defaults**. - The **firmware version** remains unchanged. - After performing a reset, it’s recommended to review your key configuration settings (e.g., wireless channel, mode, and time) before redeploying the sensor.