# Global Settings
The Global Settings apply to both Still and Video modes. These settings control the core behaviour of the sensor and remain active regardless of which shooting mode is selected. Global Settings include options such as Wireless Channel, Sensitivity, and the Far/Wide Sensor configuration. These settings define how the sensor detects motion and communicates with connected equipment.
# Wireless Channel
The **Wireless Channel** menu screen allows you to select which **wireless channel** the sensor’s built-in transmitter will use to communicate with your **Camtraptions Wireless Receiver**.

#### **Accessing the Wireless Channel Setting**
1. From the **Home Screen**, press the **Right Arrow** button until you reach the **Wireless Channel** screen.
2. Use the **Up** or **Down** buttons to change the wireless channel number.
3. Press the **Set** (centre) button to **save** your selection.
The selected channel must match the channel set on your **Camtraptions Wireless Receiver** for proper operation.
#### **Available Channels**
The sensor supports **15 wireless channels**, numbered 1–15. Each corresponds directly to the same numbered channel on the [Camtraptions Wireless Receiver](https://store.camtraptions.com/collections/flash-cables-accessories/products/wireless-trigger?variant=30110971212).
**
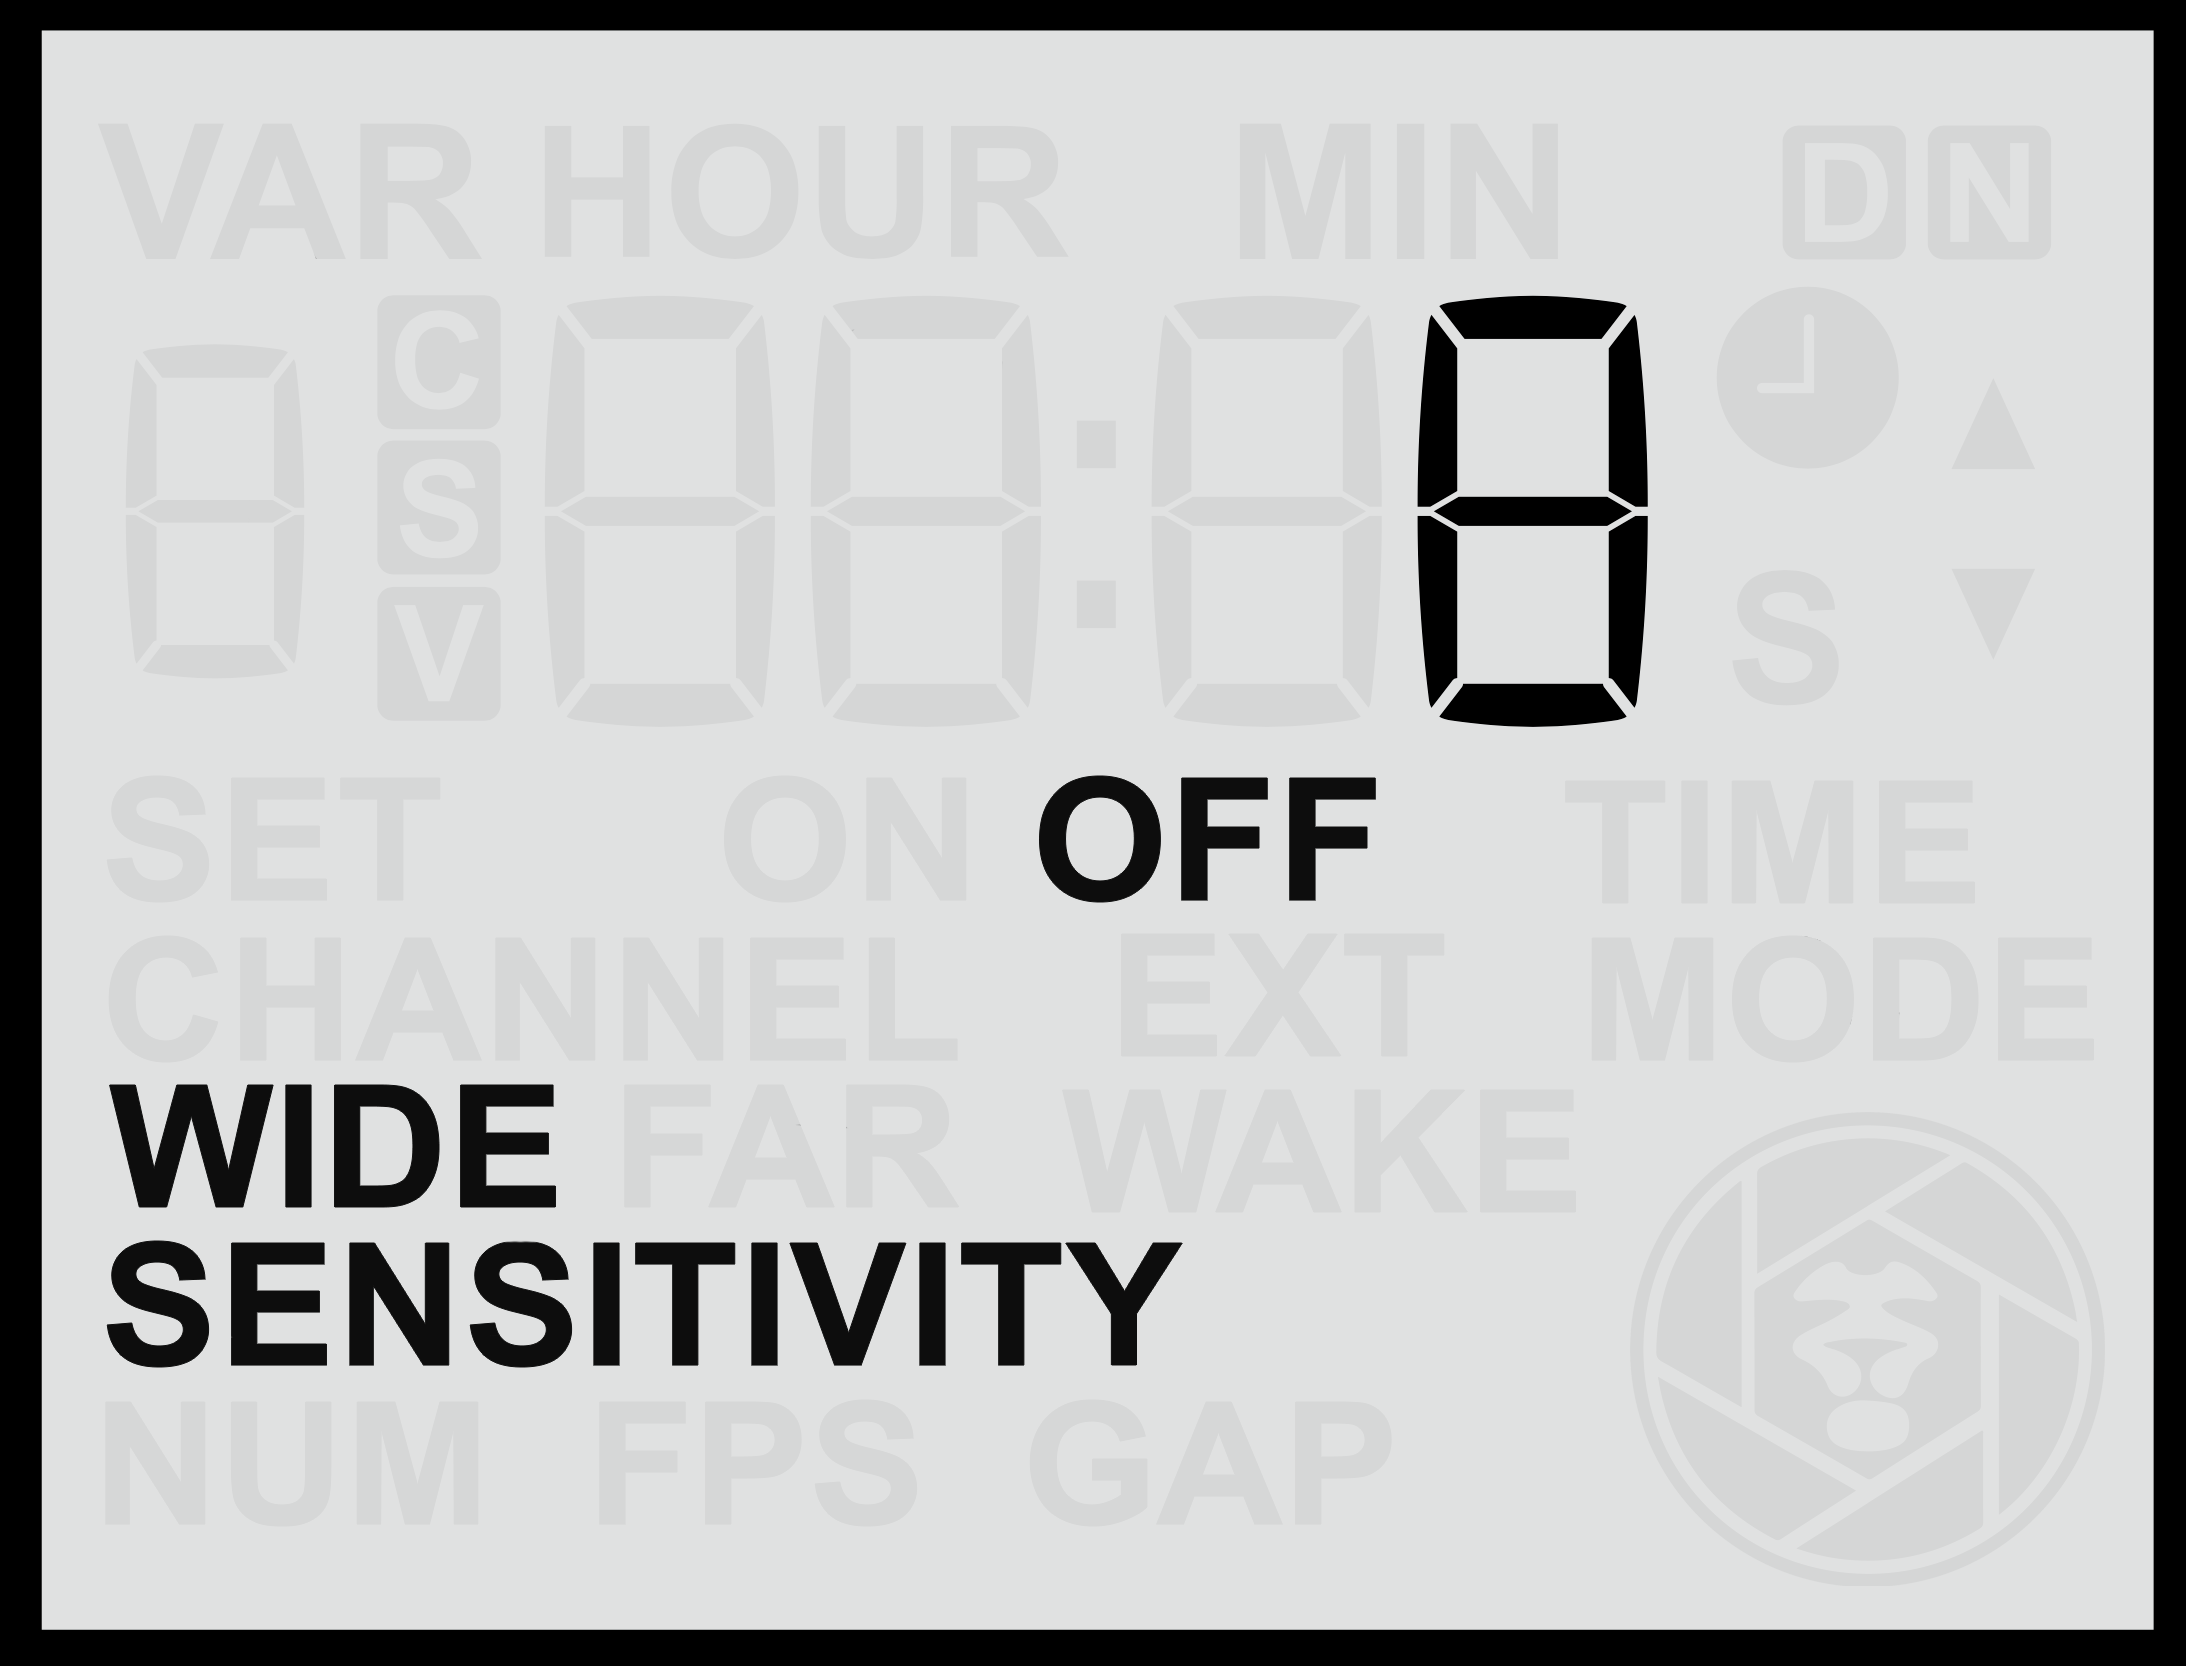
#### **Disabling Wireless Transmission**
To **disable the wireless transmitter** completely (for wired-only operation):
- Press and **hold** either the **Up** or **Down** button for more than **2** **seconds** while on the Wireless Channel screen.
The display will show **“OFF”**, indicating that wireless transmission is disabled.
In this mode, the sensor will **only trigger connected devices via the wired output socket**. It will also conserve some power and allow the sensor to operate for even longer in the field.
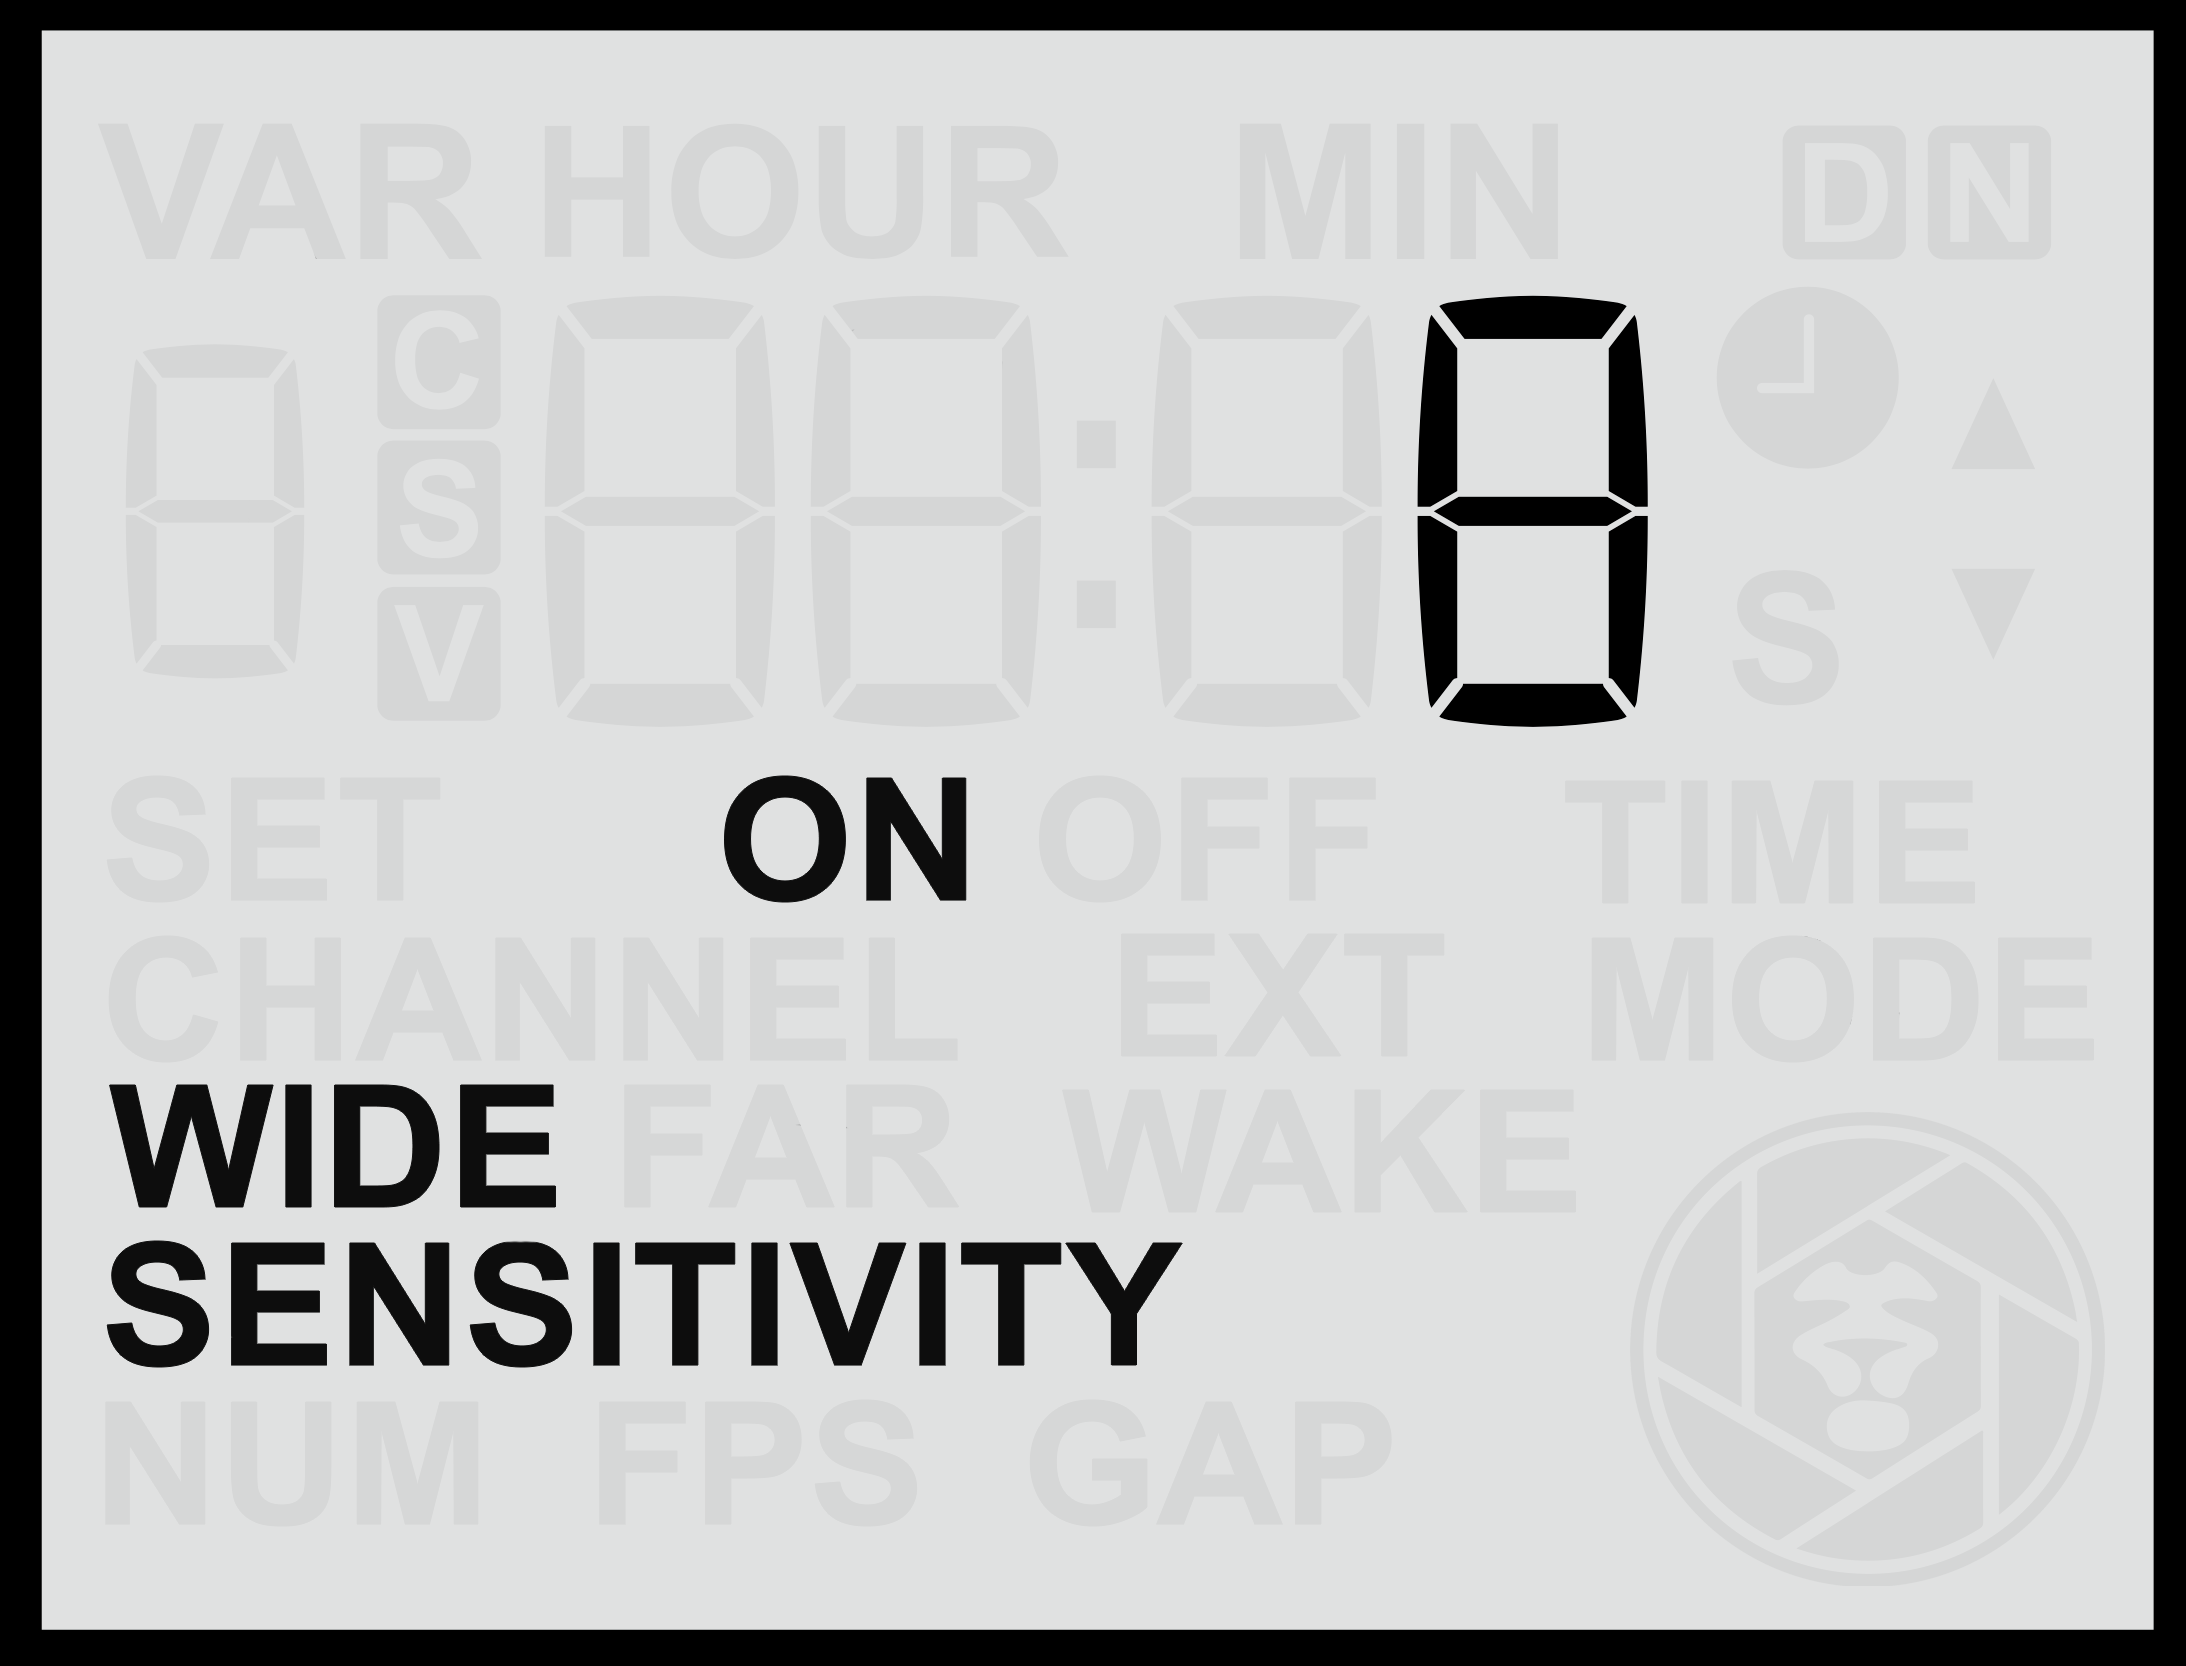
# Wide Sensor
The **Wide Sensor** menu screen allows you to adjust the behaviour and sensitivity of the **wide-angle PIR lens**. This sensor has a broader field of view (approximately **60°**) and is ideal for detecting animals earlier as they approach the camera.
|  |
|  |  |
#### **Accessing the Wide Sensor Screen**
1. From the **Home Screen**, press the **Right Arrow** repeatedly until you reach the **Wide** screen.
2. Use the **Up** or **Down** buttons to adjust the sensitivity between **1 and 16**, where:
- **16** = Maximum sensitivity (detects smaller or more distant motion).
- **1** = Minimum sensitivity (detects only close or pronounced motion).
3. Press the **Set** button to **save** your chosen setting.
#### **Testing the Wide Sensor**
To understand and fine-tune how the wide sensor behaves in your setup:
- Temporarily **disable the Far Sensor** to isolate the wide lens’s detection zone.
- Use the **red motion indicator light** on the front of the sensor to see when motion is detected.
- Once testing is complete, **re-enable** both sensors for normal operation.
Testing each sensor individually can help you visualise their detection ranges and ensure the trigger zone aligns precisely with your intended framing.
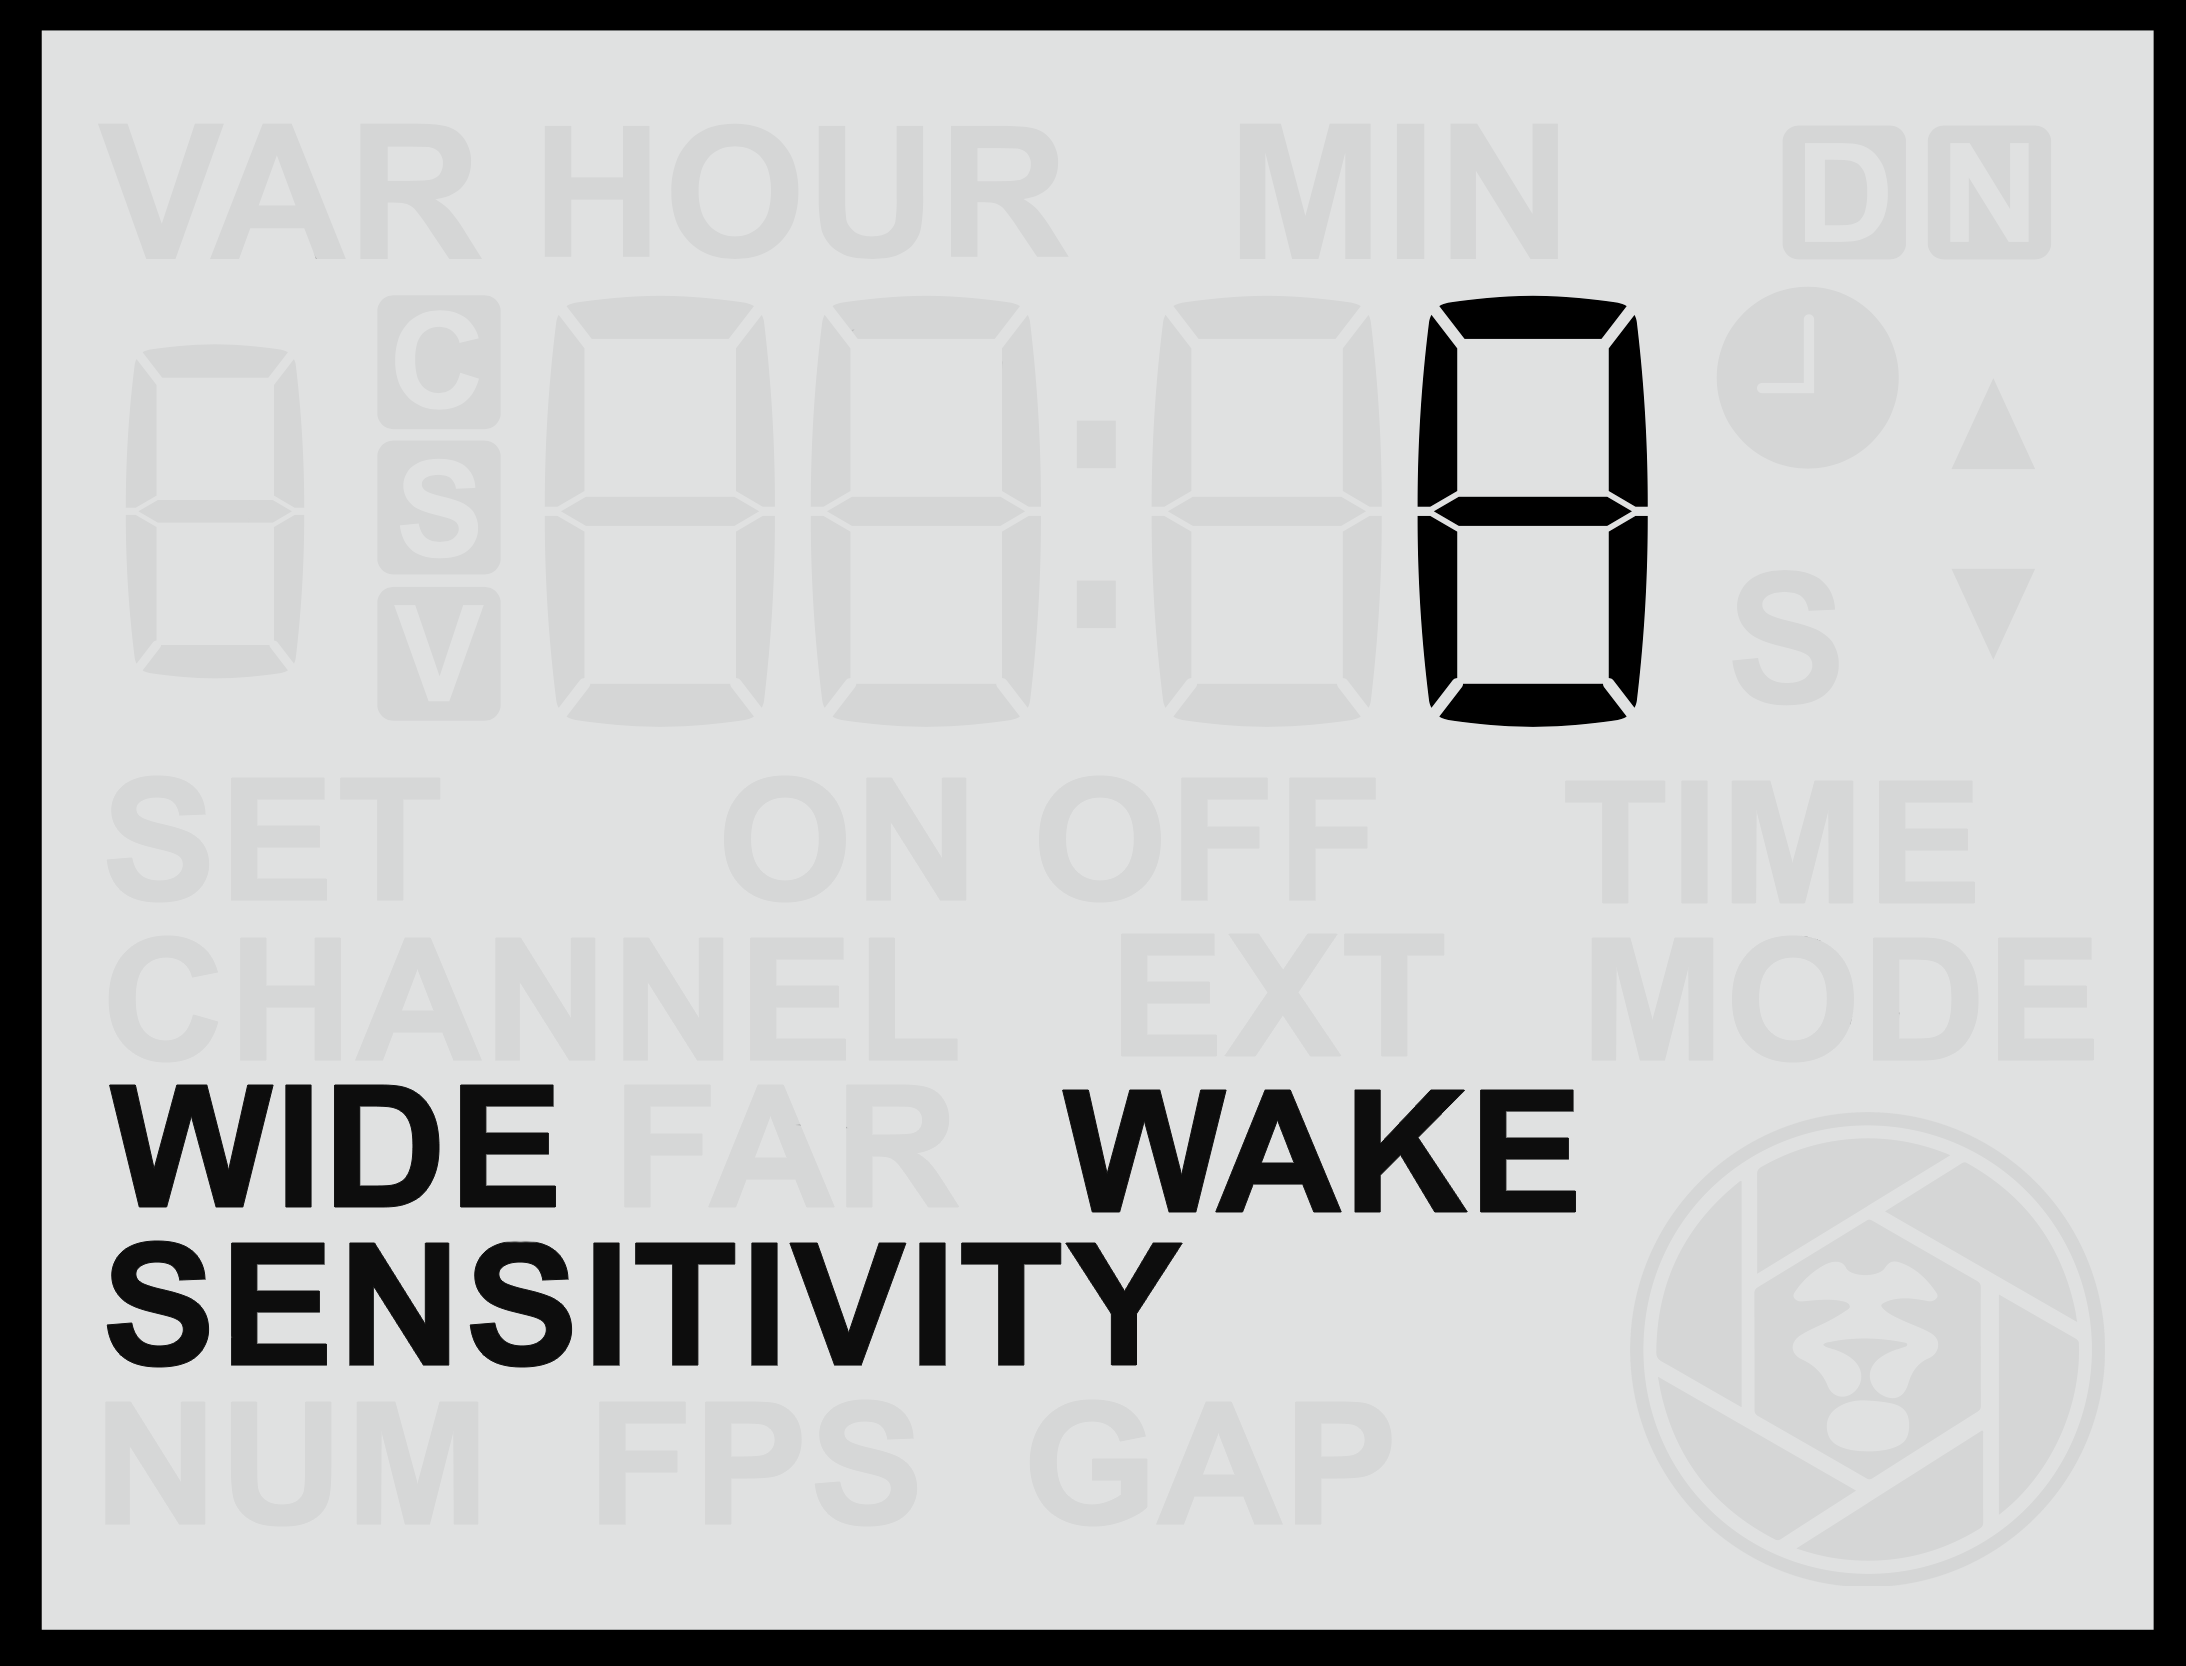
#### **Changing the Wide Sensor Function**
You can also change how the wide sensor behaves by pressing and **holding** either the **Up** or **Down** button for more than **2** **seconds**. This cycles through three operating modes:
| **Mode** | **Description** |
|---|
| **Normal** | The sensor behaves normally, triggering the camera or flash when motion is detected. |
| **Off** | The wide sensor is disabled and will not detect motion or trigger the camera. |
| **Wake** | The wide sensor will only send a **wake signal** to connected camera equipment when motion is detected, but not a full trigger signal. |
The **Wake** mode is particularly useful because the wide sensor often detects animals **entering the frame** before the far sensor does. Using it to send a **wake signal** ensures that by the time the far sensor sends the **shoot signal**, the camera (and any connected flashes) are already active and ready to respond.
This function is especially beneficial for:
- **Cameras that take a long time to wake from standby**, such as some older or budget mirrorless models.
- **Third-party flashes** that require a charging period before firing.
Note: Camtraptions Z Pro Flashes remain fully charged and ready to fire instantly, so this feature is not required when using Z Pro units.
Note: If a sensor is set to **Wake** mode, then the signal will only be sent if the PIR v4 has not been active within the last 30 seconds. This ensures that no unnecessary wake signals (and potential trigger delays) are occuring during periods of continuous activity in front of the PIR.
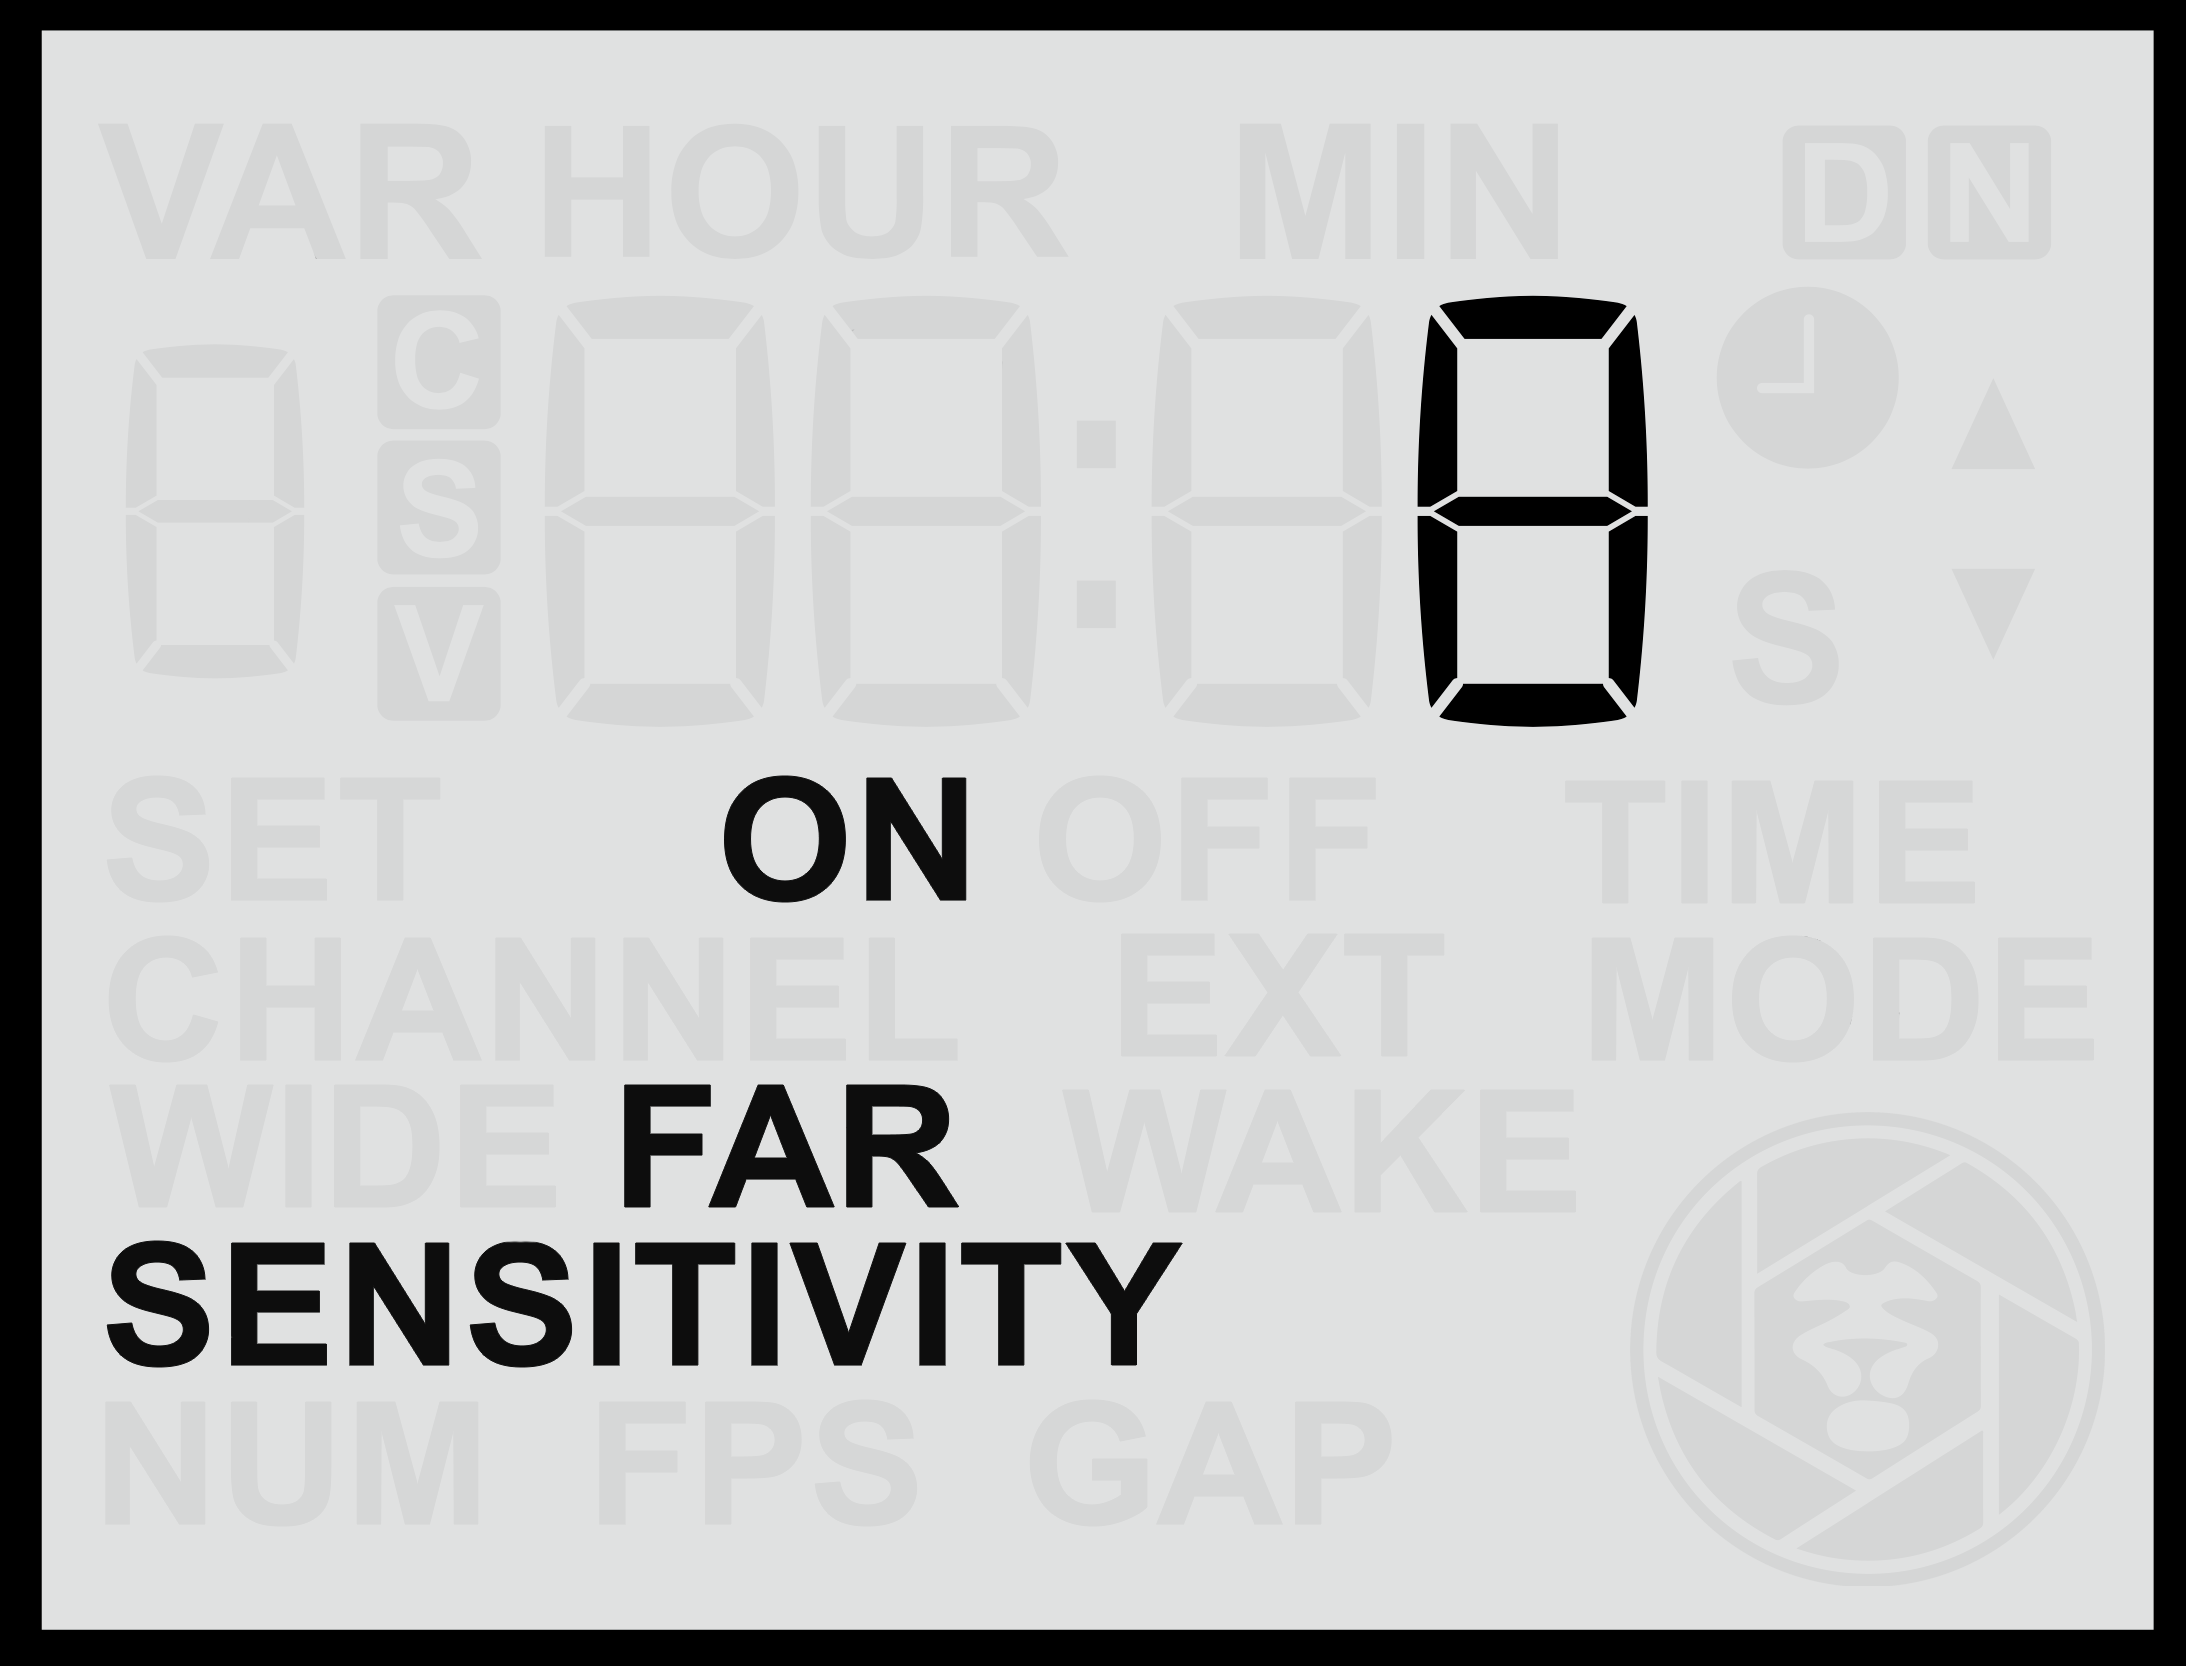
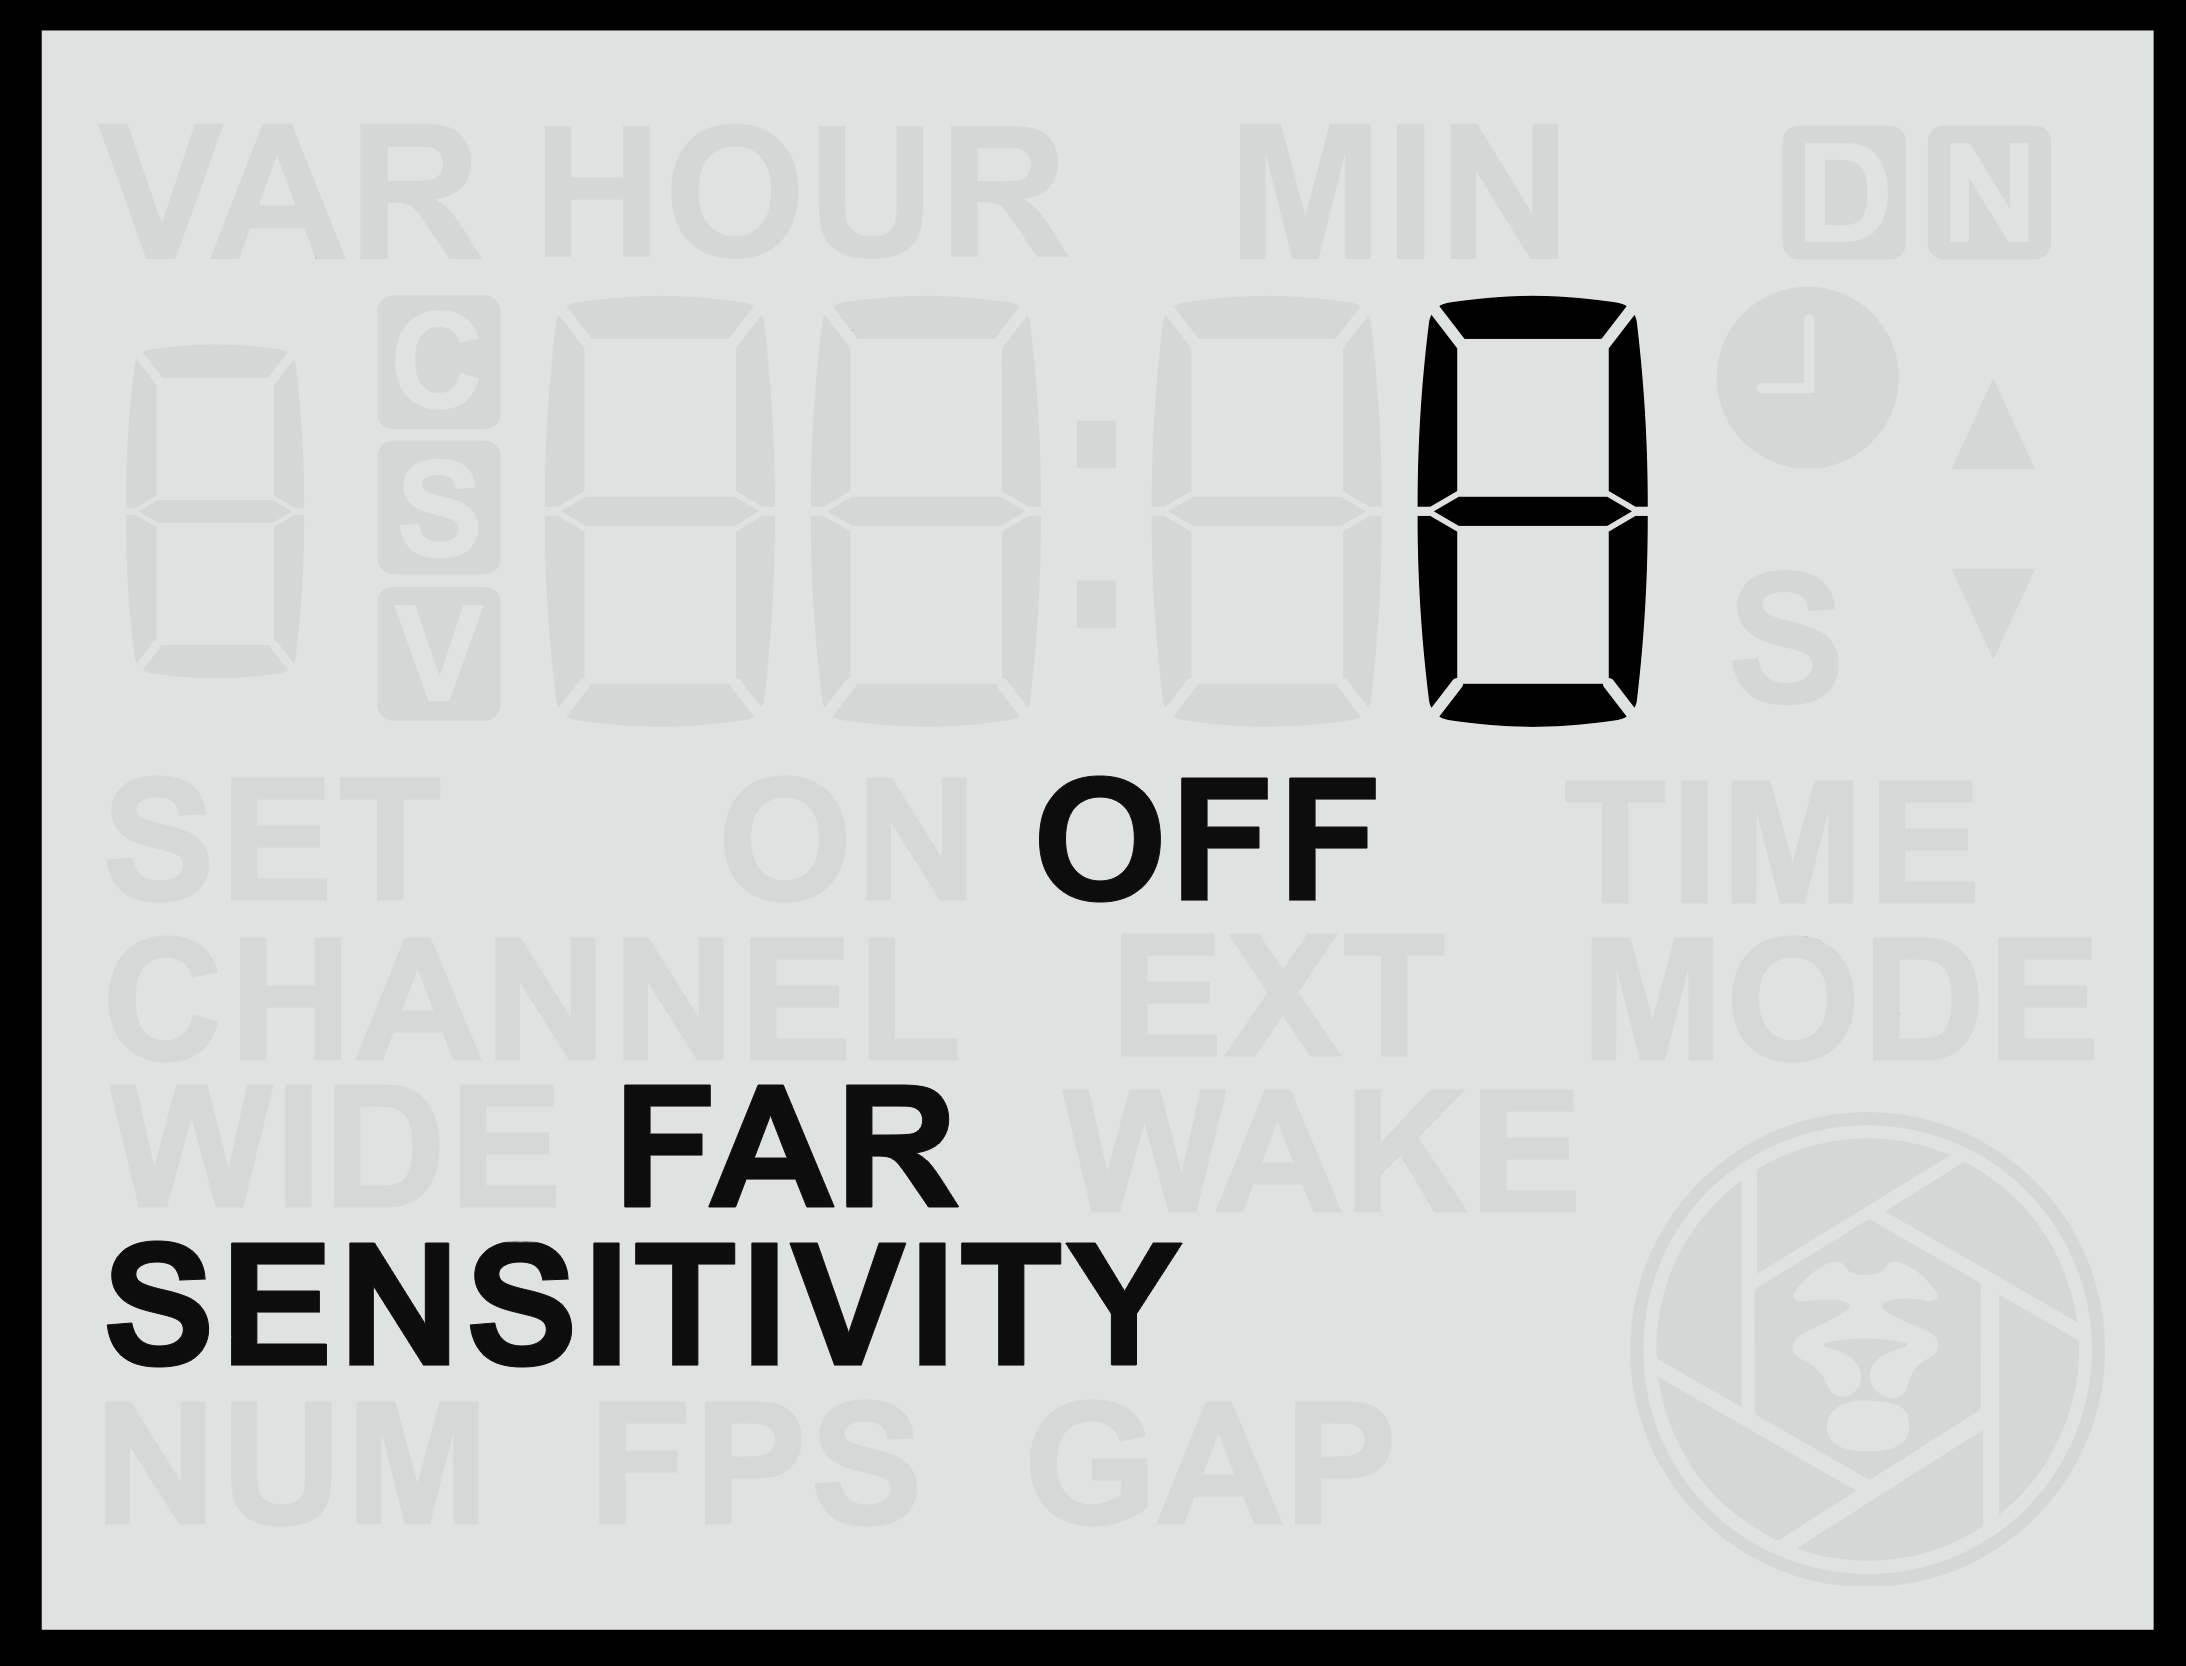
# Far Sensor
The **Far Sensor** menu screen allows you to adjust the behaviour and sensitivity of the **long-range PIR lens**. This sensor has a much **narrower field of view** (approximately **10°**) and is significantly more sensitive overall than the wide sensor. It is designed for precise control of the trigger zone, enabling the user to determine exactly **where in the frame** the animal will be when the camera is activated.
Because of its narrow detection zone, the far sensor can be used much like a **“beam break”**, ideal for cutting across an animal trail or pathway to ensure triggering occurs only when the subject reaches a specific point.
|  |  |
#### **Accessing the Far Sensor Screen**
1. From the **Home Screen**, press the **Right Arrow** repeatedly until you reach the **Far** screen.
2. Use the **Up** or **Down** buttons to adjust the sensitivity between **1 and 16**, where:
- **16** = Maximum sensitivity (detects very small or distant motion).
- **1** = Minimum sensitivity (detects only close or pronounced motion).
3. Press the **Set** button to **save** your chosen setting.
#### **Testing and Positioning the Far Sensor**
To understand and fine-tune the detection range and behaviour of the far sensor:
- Temporarily **disable the Wide Sensor** so you can observe only the far lens’s performance.
- Use the **red motion indicator light** to see exactly when motion is detected.
- Adjust the sensor’s position and side flaps to align the detection beam precisely with your desired trigger zone.
- Once testing is complete, **re-enable both sensors** for full functionality.
Because its range is very long, the far sensor may sometimes detect motion **beyond the intended trigger zone** or **outside the camera’s framing**.
To prevent unwanted detections, it can be effective to **mount the sensor slightly higher** and **angle the far sensor downward** toward the desired trigger area. This positioning limits its view of distant background areas and ensures it primarily “sees” the ground where the subject will pass, triggering reliably and precisely when the animal enters the frame.
#### **Changing the Far Sensor Function**
As with the wide sensor, you can change the behaviour of the far sensor by pressing and **holding** either the **Up** or **Down** button for more than **2 seconds**. This cycles through three operating modes:
| **Mode** | **Description** |
|---|
| **Normal** | The sensor behaves normally, triggering the camera or flash when motion is detected. |
| **Off** | The far sensor is disabled and will not detect motion or trigger the camera. |
| **Wake** | The far sensor sends only a **wake signal** to connected camera equipment but does not trigger a full shoot command. |
The **Normal** mode is typically used for capturing the actual trigger moment. However, in some advanced setups, the **Wake** mode may be used strategically to coordinate multiple sensors or fine-tune camera wake-up behaviour.
# Gap Time
The **Gap Time** setting controls the **delay between triggers**, defining how long the sensor will wait before it can activate again after completing a sequence. This lets you control how often the sensor triggers, conserving battery power and storage while allowing flashes to recharge and reducing the chance of disturbing subjects.

#### **Adjusting the Gap Time**
1. From the **Home Screen**, press the **Right Arrow** until you reach the **Gap Time** screen.
2. Use the **Up** or **Down** buttons to set the desired delay between 0.5s and 1min (1s by default).
3. Press the **Set** button to **save** your selection.
The chosen value determines how long the sensor will remain inactive after completing a sequence before it can trigger again.
- A **short gap time** allows the sensor to retrigger quickly and capture multiple events close together.
- A **longer gap time** limits the number of triggers, reducing the total number of images or videos recorded over time.
#### **Practical Uses**
Adjusting the Gap Time can help you:
- **Reduce excessive triggering** in areas with frequent animal movement.
- **Conserve battery power** and **memory card space** for longer unattended deployments.
- **Allow flashes time to recharge** between triggers, especially when using multiple flashes or high power levels.
- **Avoid disturbing animals** with rapid, repeated flashes.
In most cases, a **moderate delay** provides the best balance between responsiveness and conservation of resources. For fast-moving subjects or short-term deployments, a shorter delay may be preferable, while for long-term camera traps, a longer delay could help extend system endurance.
# Wake Time
The **Wake Time** setting determines how long the sensor will wait after an initial **half-press (wake)** signal has been sent to the camera before beginning the main trigger sequence. This gives the camera (and any connected flashes) time to **wake up or prepare** before the full trigger (shoot) command is sent.

#### **Adjusting the Wake Time**
1. From the **Home Screen**, press the **Right Arrow** until you reach the **Wake Time** screen.
2. Use the **Up** or **Down** buttons to select the desired delay in seconds between 1s and 15s.
3. Press the **Set** button to **save** your selection.
The delay can be configured in **seconds**, depending on how much wake-up time your camera or flashes require. By default, this setting is **off** (no wake-up signal and delay).
#### **Enable or Disable the Wake Function**
- **Hold** either the **Up** or **Down** button for more than **2 seconds** while on the **Wake** screen.
- When active, the display will show the **ON** indicator.
#### **Purpose of Wake Time**
Some cameras require a short period to power up or establish communication before they will respond to a full trigger signal. If a **shoot signal** arrives too soon after the system has been idle, the camera may miss it entirely. This can lead to missed shots in still mode and, more critically, problems in video mode.
For example:
- Certain **Canon cameras** require a **full-press signal** to start and stop video recording. If the start signal is missed due to wake-up lag, the camera may only respond to the **stop** command later, resulting in continuous, indefinite recording.
- Cameras with **longer wake-up delays**, or flashes that require a moment to recharge, benefit from a wake period that ensures all equipment is ready before the main trigger occurs.
#### **Recommended Use**
It is recommended to use a **Wake Time** delay for:
- Cameras that take noticeable time to wake from standby (especially some older mirrorless cameras).
- **Canon and Panasonic cameras** used in **video mode**.
- Setups involving third-party flashes that require a short recharge time before firing. (Note: Camtraptions flashes do not require a wake delay, as they remain ready to fire instantly.)
Adjusting this delay ensures reliable operation by waking connected equipment first, then triggering the shutter or video start signal once everything is ready.
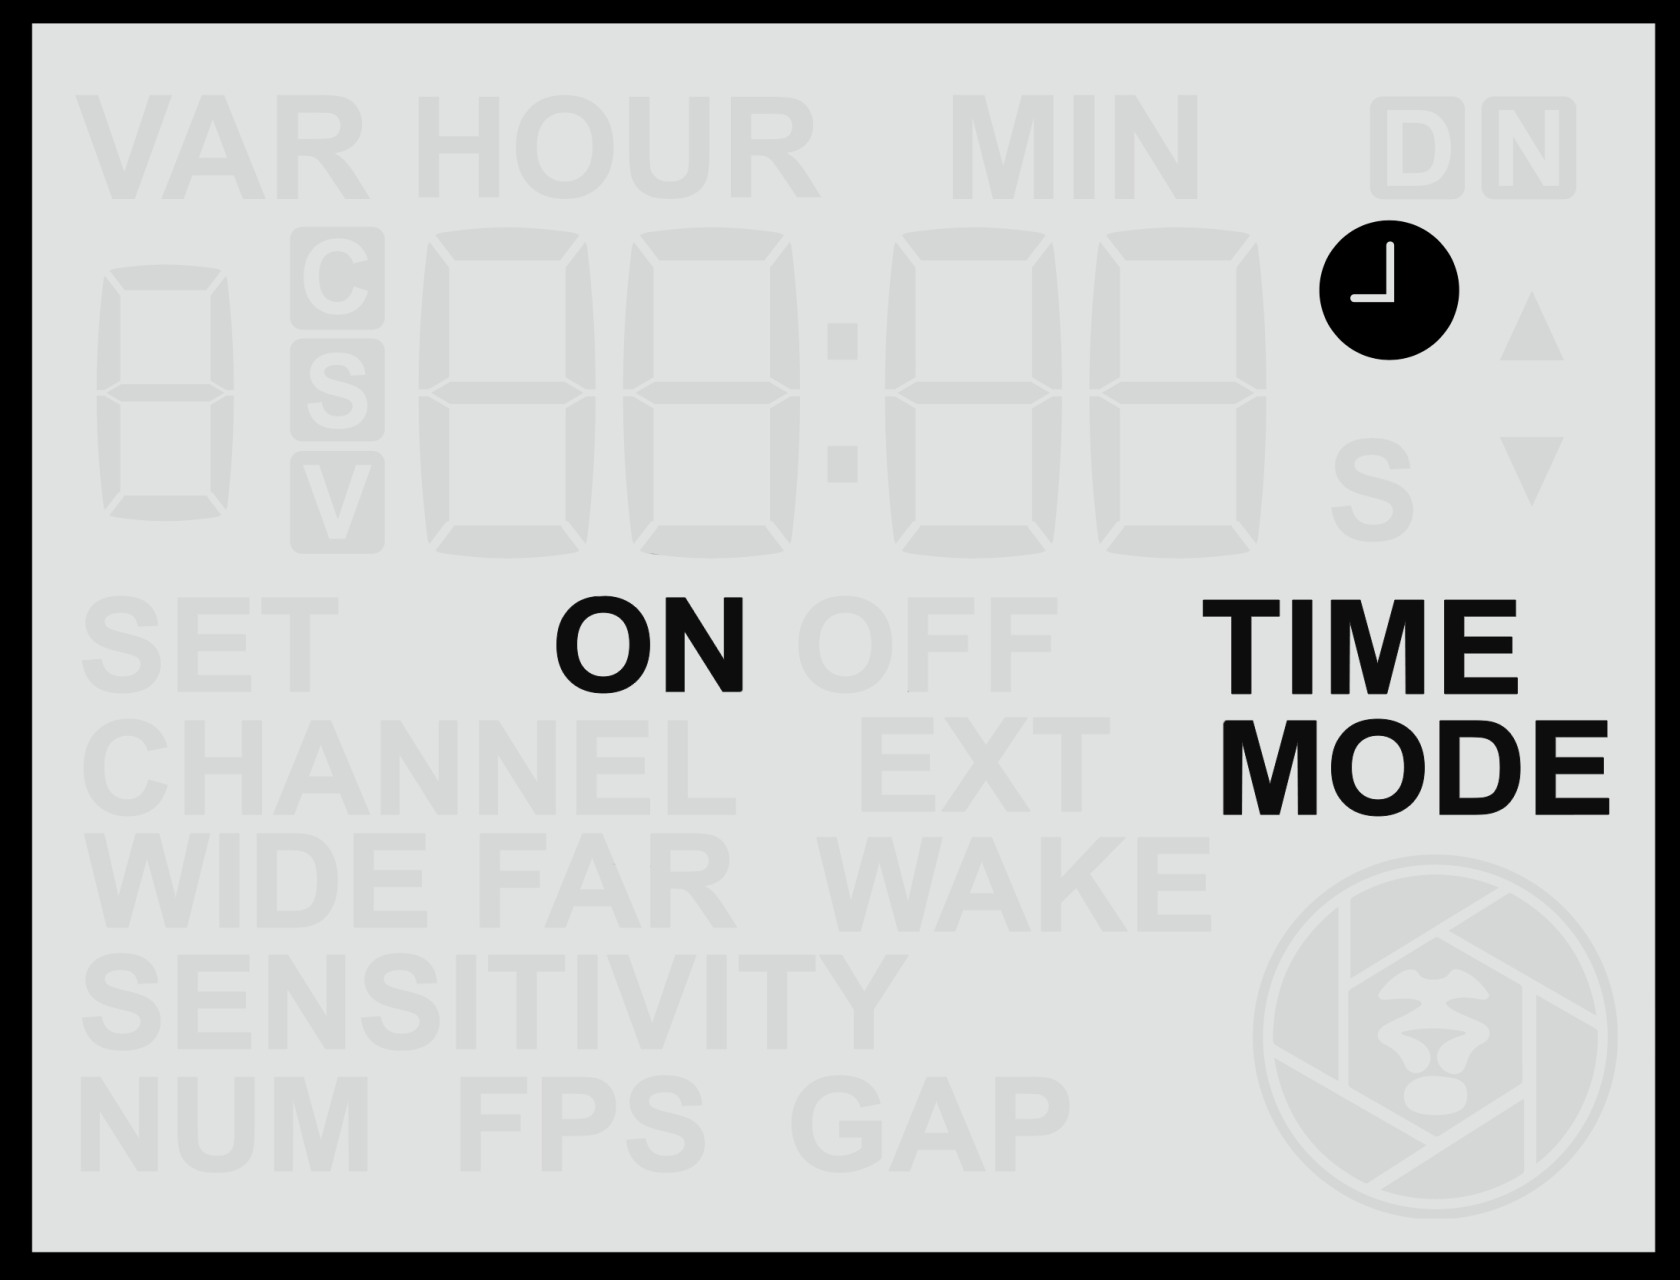
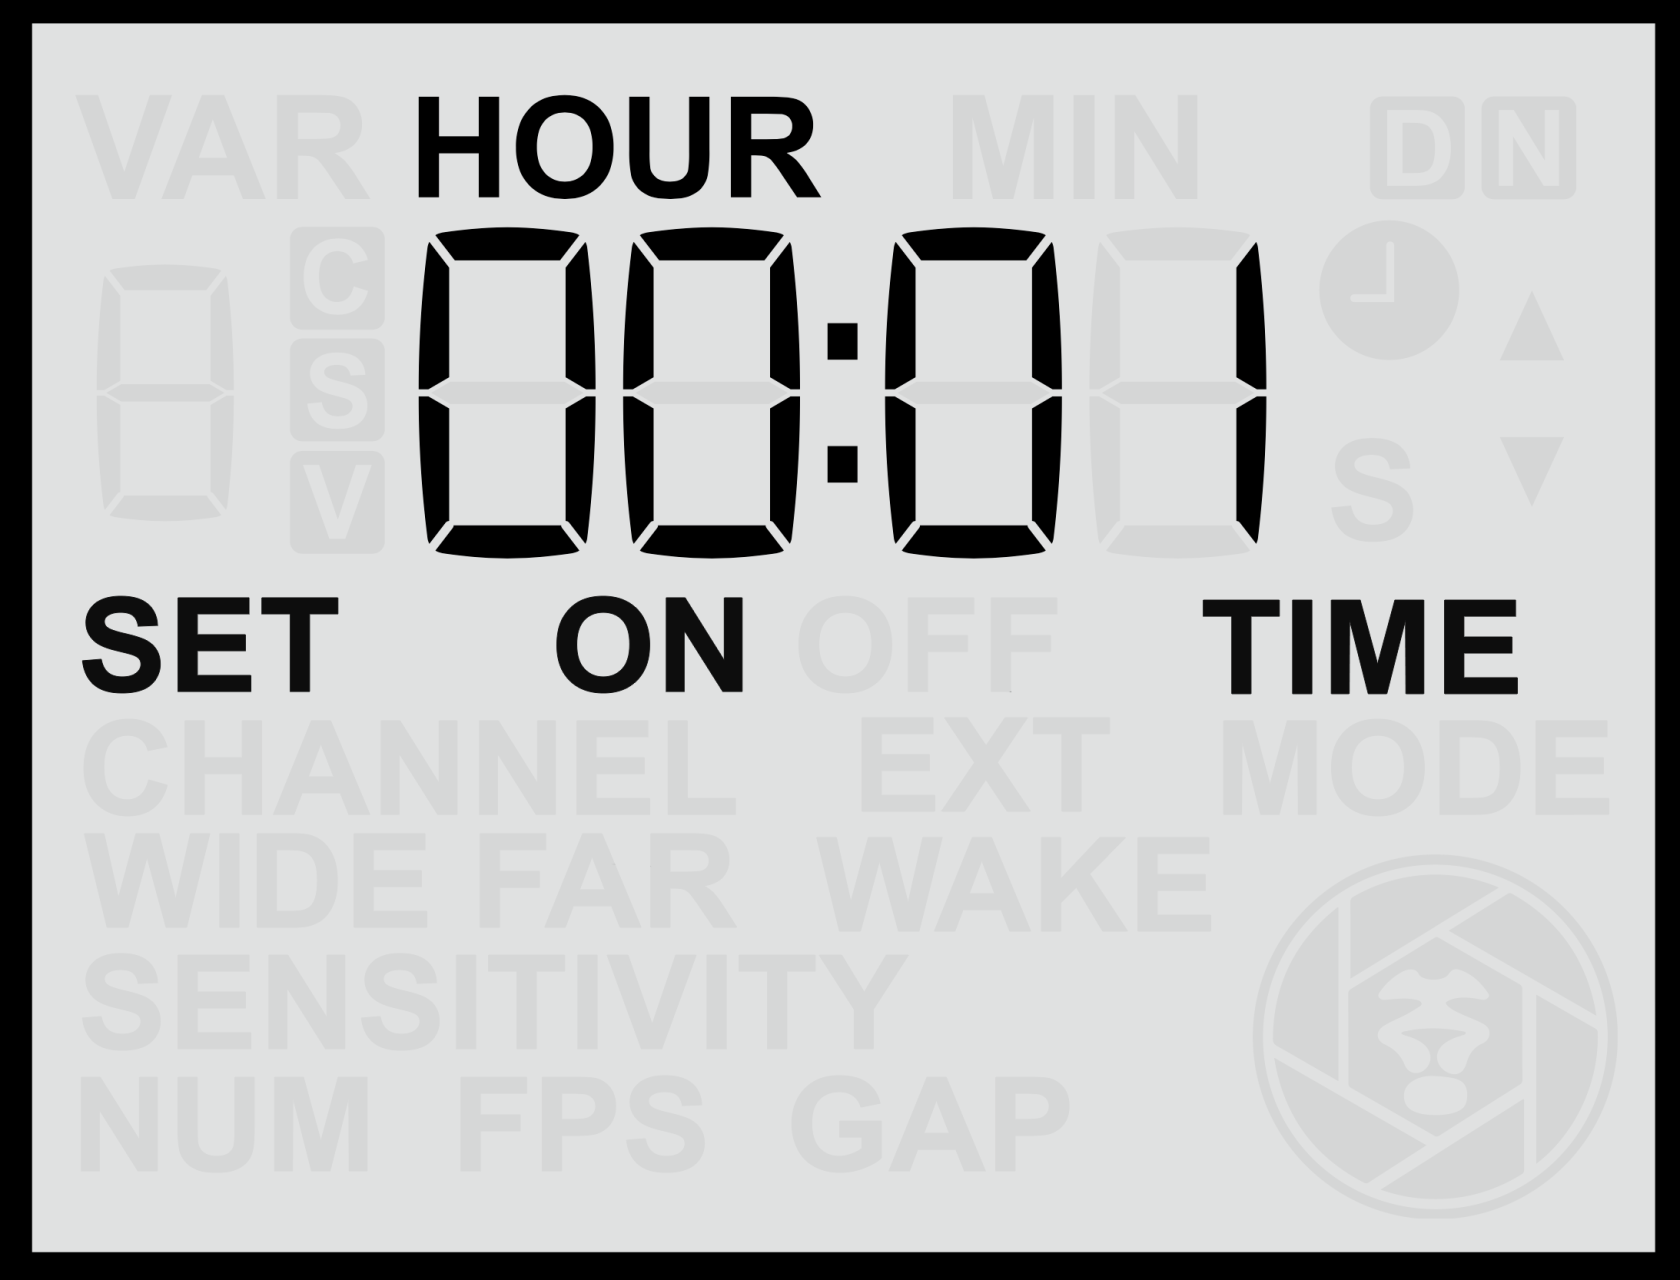
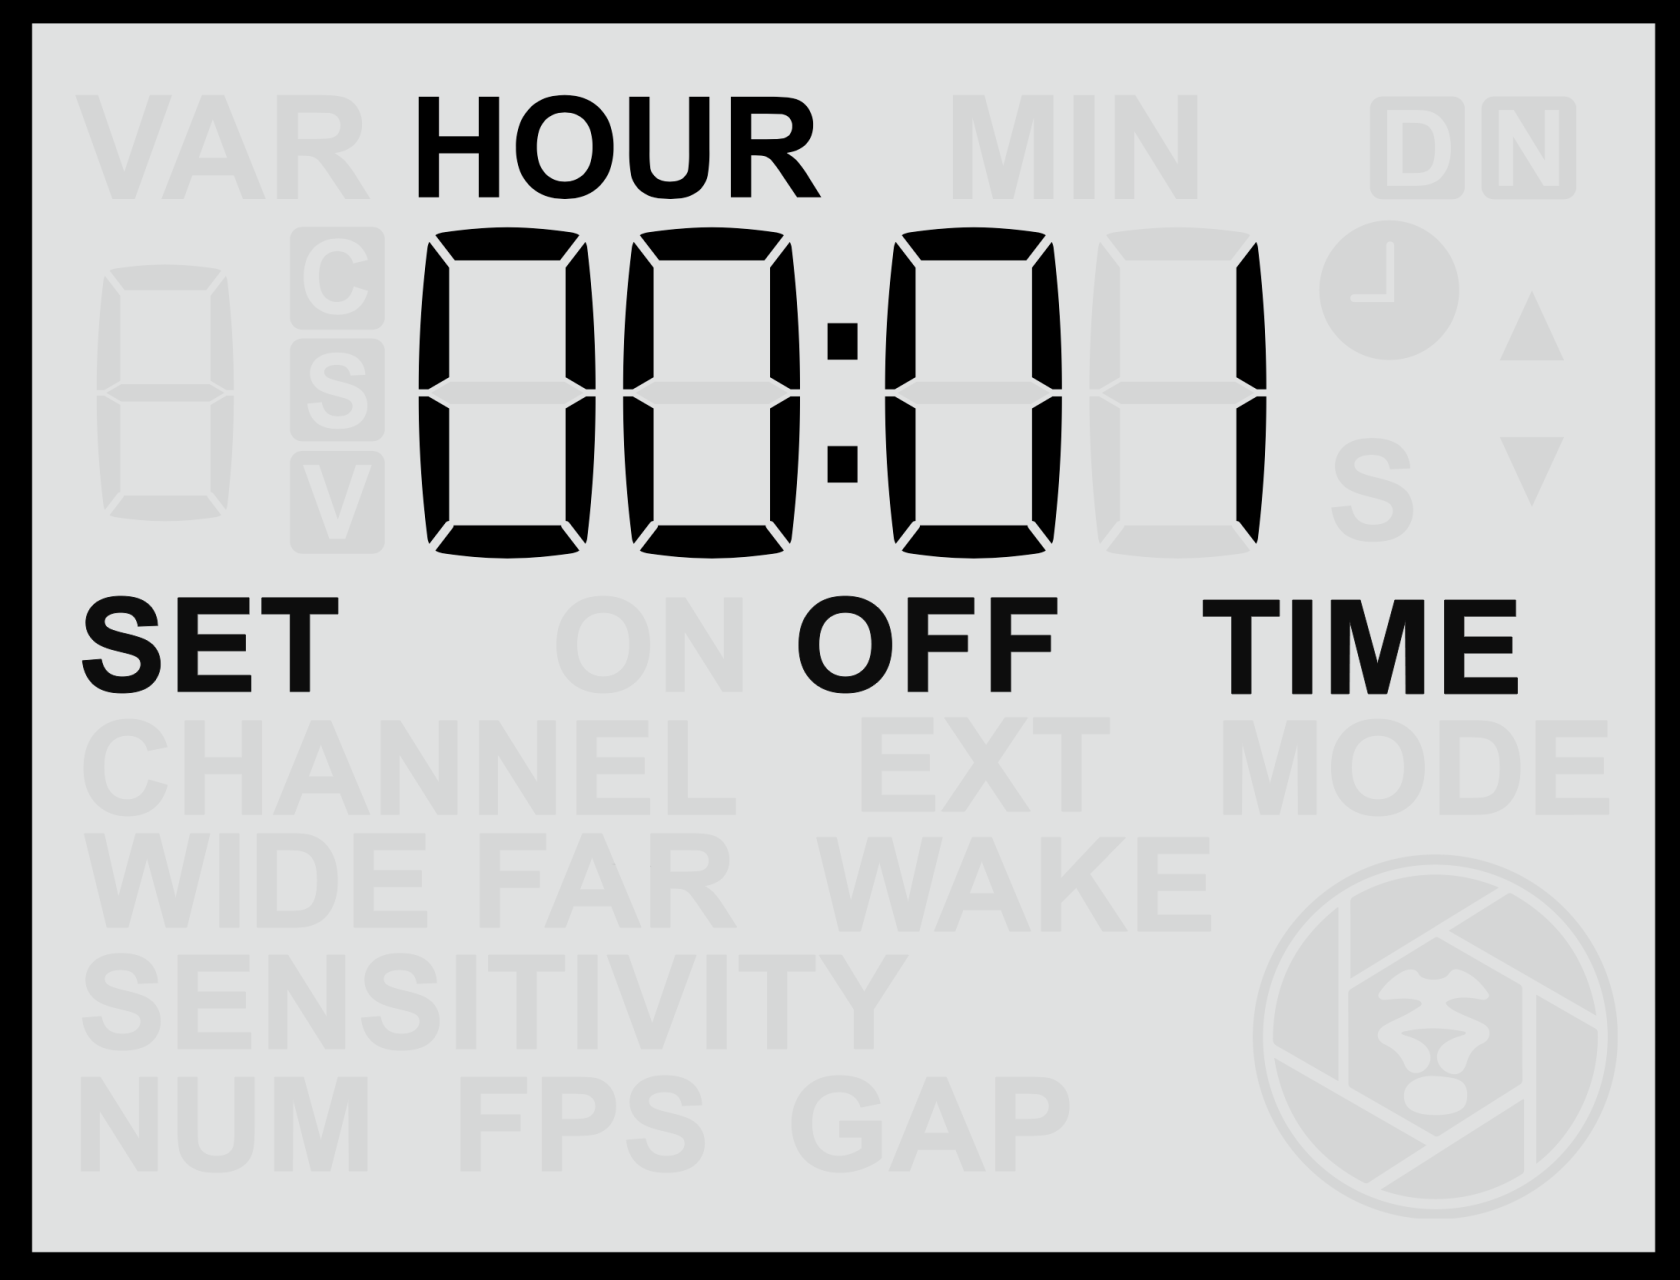
# Set Clock Time
The **Set Clock Time** screen allows you to configure the sensor’s **internal clock**, which is required for **Time Windows** (scheduled active hours). Setting the correct time ensures the sensor operates accurately within any defined time periods.
| 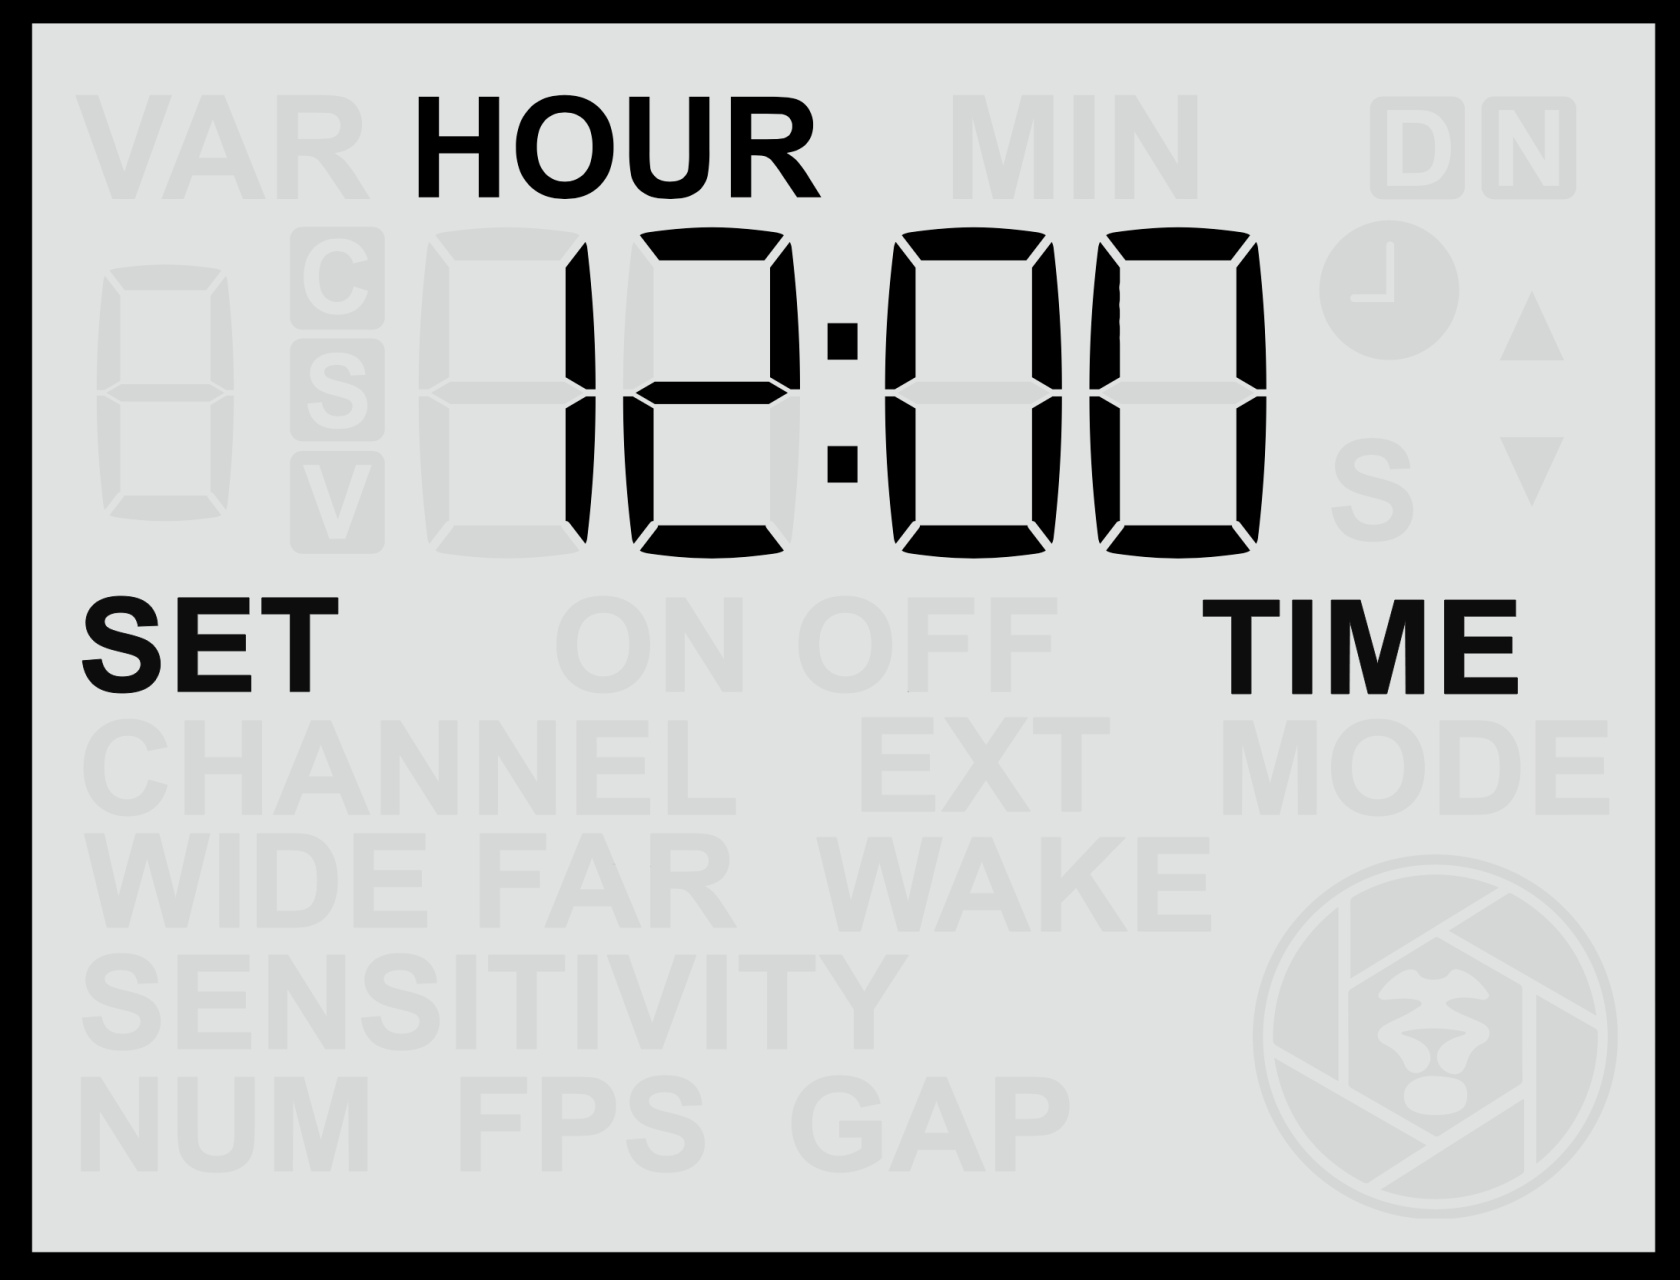 | 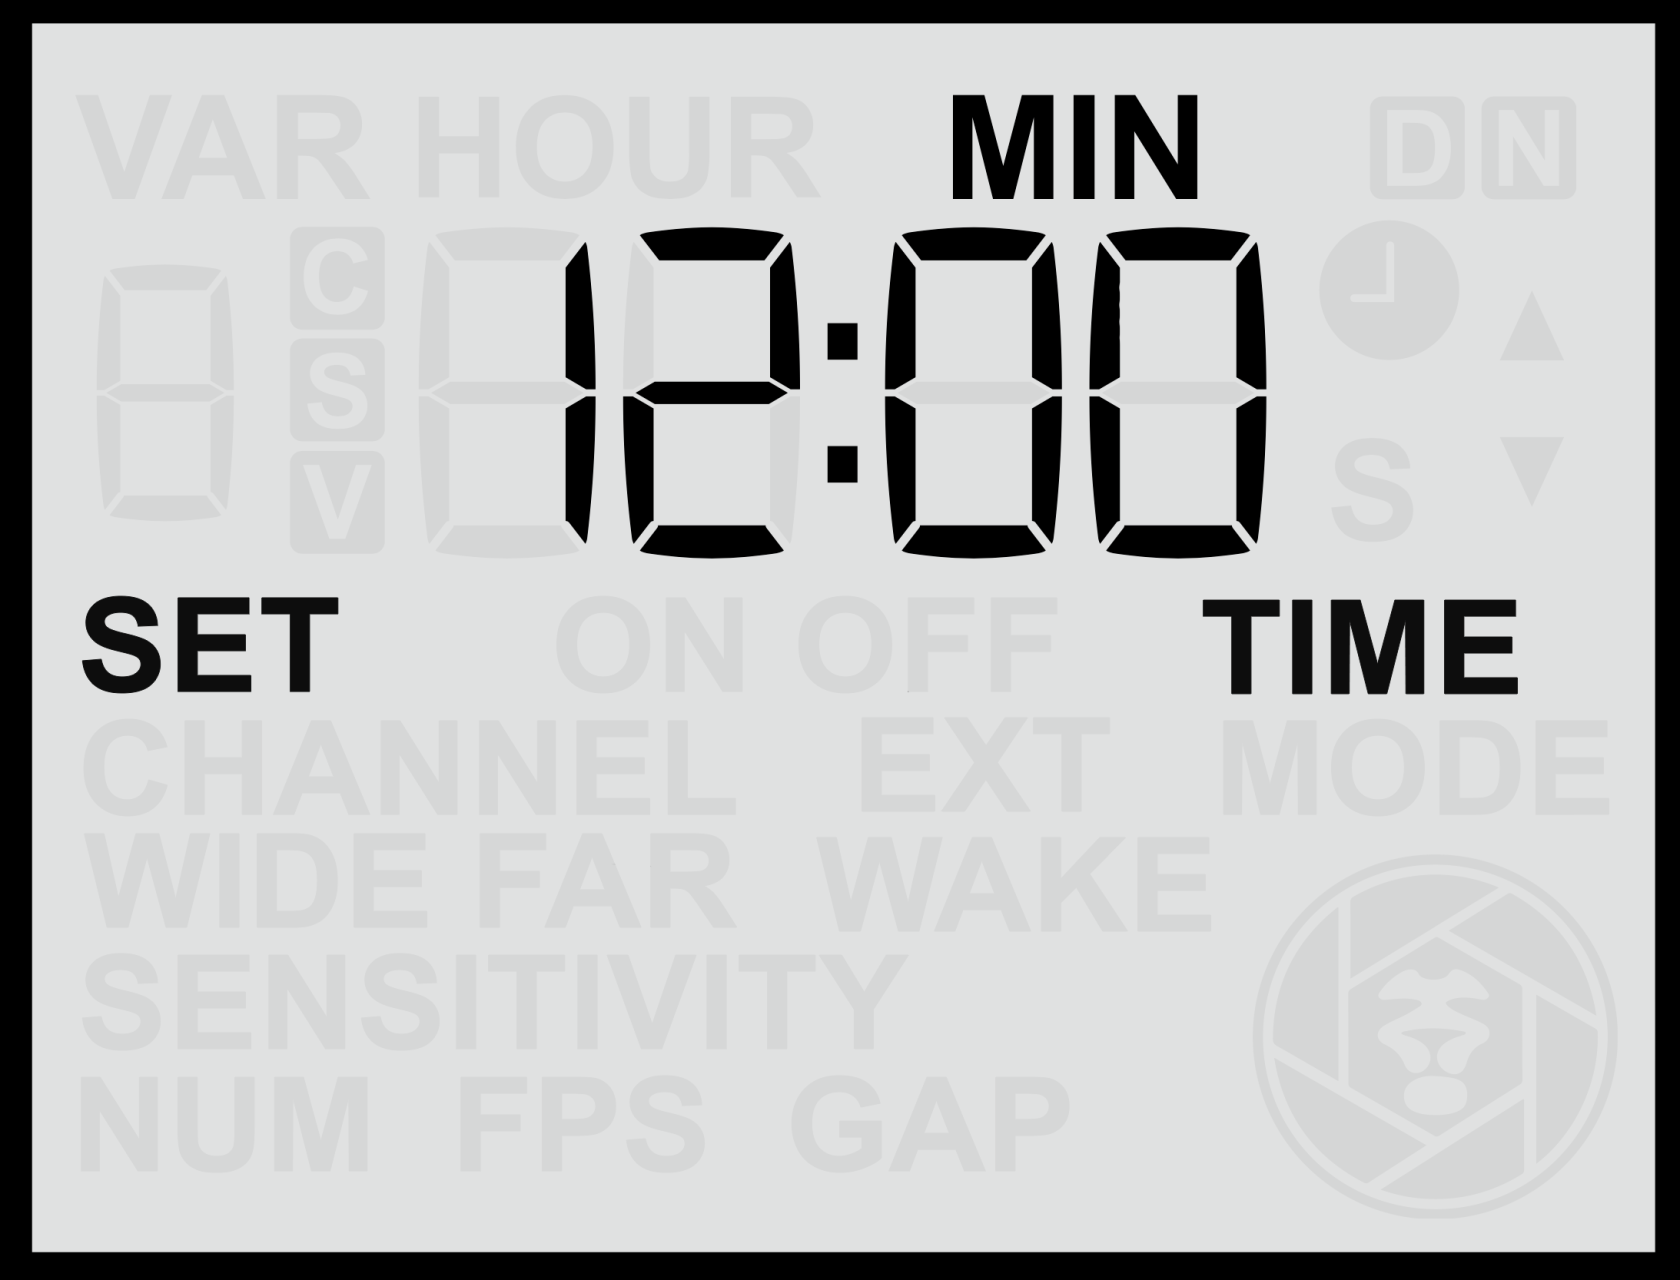 |
#### **Setting the Clock**
1. From the **Home Screen**, press the **Right Arrow** until you reach the **Set Clock Time** screen.
2. Press the **Up** or **Down** buttons to adjust the **hour** value.
3. Press the **Set** button to confirm the hour.
4. The **minute** value will then begin flashing — use the **Up** or **Down** buttons to adjust it.
5. Press **Set** again to save the time.
The clock uses a **24-hour format** (00:00 to 23:59).
Note: The clock setting is retained internally, even when the sensor is powered off or the battery is removed.
Note: For accurate operation of **Time Windows**, ensure the clock is set to **local time** in the location where the sensor is being deployed.
# Enable Time Windows
The **Time Windows** setting allows you to control when the sensor is active during a 24-hour period. When enabled, the sensor will automatically disable itself outside the defined time window, allowing it to operate only during selected hours (for example, **nighttime only** or **daytime only** operation).
#### **Enabling or Disabling Time Windows**
1. From the **Home Screen**, press the **Right Arrow** until you reach the **Time Windows** screen.
2. Press the **Up** or **Down** button to toggle between **ON** and **OFF**.
When **Time Windows** are enabled, a **clock icon** will appear on the **Home Screen**, indicating that scheduled operating hours are active. The clock icon on the **Home Screen** will be accompanied by either **ON** or **OFF**. This provides a convenient indication of whether the sensor is currently inside an active time window (**ON**) and is therefore **working**, or outside an active time window (**OFF**) and is therefore is **disabled**.
#### **Notes on Operation**
- When Time Windows are **ON**, the sensor will remain **inactive** outside the specified time range.
- Currently, **only one time window** can be defined per 24-hour cycle (for example, limiting operation to daylight or night hours).
- Ensure the **internal clock** is correctly set before enabling Time Windows (see *Set Clock Time* section).
Future firmware updates may introduce the ability to configure multiple time windows. If multiple time windows would be a valuable feature for your application, please contact **Camtraptions** for updates or to provide feedback.
An active Time Window may cause the sensor to appear unresponsive. If the sensor does not seem to react to motion, first check whether the clock icon is visible on the Home Screen and if the activity indicator is displaying **OFF**. If it is, verify that the internal clock and time window settings are correct.
# Set On Time
The **Window On Time** setting defines the time of day when the sensor becomes **active** — in other words, the start of the period during which motion detection and triggering are enabled.
This feature works in conjunction with the **Time Windows** setting. For example, if you wish the sensor to operate **only at night**, you might set the *Window On Time* to **18:00 (6:00 p.m.)** and the *Window Off Time* to **06:00 (6:00 a.m.)**.
#### **Setting the Window On Time**
1. From the **Home Screen**, press the **Right Arrow** until you reach the **Window On Time** screen.
2. Use the **Up** or **Down** buttons to adjust the **hour** value.
3. Press the **Set** button to confirm the hour.
4. The **minute** value will then begin flashing — use the **Up** or **Down** buttons to adjust it.
5. Press **Set** again to save the time.
The time is entered in **24-hour format** (00:00 to 23:59).
#### **Notes**
- Ensure the **Time Windows** feature is **enabled** for this setting to take effect.
- For reliable operation, confirm that the **sensor clock** is set accurately before adjusting time windows (see [**Set Clock Time**](https://docs.camtraptions.com/books/pir-v4-manual/page/set-clock-time "Set Clock Time") section).
# Set Off Time
The **Window Off Time** setting defines the time of day when the sensor becomes **inactive**, marking the end of the period during which motion detection and triggering are enabled.
This setting works together with the **Window On Time** to establish the daily operating period for the sensor. For example, if you want the sensor to operate **only at night**, you might set the *Window On Time* to **18:00 (6:00 p.m.)** and the *Window Off Time* to **06:00 (6:00 a.m.)**.
#### **Setting the Window Off Time**
1. From the **Home Screen**, press the **Right Arrow** until you reach the **Window Off Time** screen.
2. Use the **Up** or **Down** buttons to adjust the **hour** value.
3. Press the **Set** button to confirm the hour.
4. The **minute** value will then begin flashing — use the **Up** or **Down** buttons to adjust it.
5. Press **Set** again to save the time.
The time is entered in **24-hour format** (00:00 to 23:59).
#### **Notes**
- Ensure the **Time Windows** feature is **enabled** for this setting to take effect.
- The **sensor will remain inactive** outside the defined time window.
- If the Off Time is set to the same value as the On Time, the sensor will remain active at all times.
- For reliable operation, confirm that the **sensor clock** is set correctly before defining time windows (see [**Set Clock Time**](https://docs.camtraptions.com/books/pir-v4-manual/page/set-clock-time "Set Clock Time") section).
# External Wake
The **Periodic External Wake** setting allows the sensor to send a brief **half-press (wake)** signal to the connected camera or flash equipment at regular intervals. This periodic signal helps prevent certain devices from entering deep sleep modes and ensures they remain responsive for long-term deployments.

#### **Purpose of Periodic Wake**
This feature can be useful for a variety of situations, including:
- **Preventing cameras** from entering deep sleep or becoming unresponsive if left idle for long periods (for example, some models require a command at least once every 24 hours).
- **Keeping third-party flashes** active by preventing them from entering power-saving modes.
Although there are several potential uses, the **main purpose** of this setting is to maintain camera responsiveness in systems that may otherwise power down or lose connection over extended periods of inactivity.
#### **Setting the Periodic Wake Interval**
1. From the **Home Screen**, press the **Right Arrow** until you reach the **Periodic Wake** screen.
2. Use the **Up** or **Down** buttons to adjust the desired time interval in hours and minutes, from a minimum of 1 minute to a maximum of 24 hours.
3. Press the **Set** button to confirm and save your setting.
The interval can be configured in **minutes and hours**, and the sensor will send a brief **wake signal** to the connected equipment at each interval.
#### **Enable or Disable the Periodic Wake Function**
- **Hold** either the **Up** or **Down** button for more than **2 seconds** while on the **EXT WAKE** screen.
- When active, the display will show the **“ON”** indicator.
Panasonic cameras, such as the Panasonic GH4 and GH5, can enter a deep sleep state after extended inactivity. To prevent this, set a Periodic Wake interval of around 11 hours. This ensures the sensor sends a brief wake signal periodically, keeping the camera responsive during long deployments.
#### **Notes**
- **Periodic Wake signals are only sent during active time windows.** If Time Windows are enabled, wake signals will not be transmitted while the sensor is in an off-window period.
- If using **Camtraptions flashes** or cameras that remain active without assistance (which is the majority of cameras), this setting is not required.
- Using shorter intervals will slightly increase power consumption (not just of the sensor but of the equipment being woken), so choose the **longest interval** that reliably keeps your equipment awake.