# Stills Mode
This section describes all settings specific to still photography. It explains how the sensor controls the number of frames, frame rate, and timing sequences, as well as how to optimise your camera and flash setup for reliable results across lighting conditions.
# Still Mode Menu Overview
When the sensor is set to **Still Mode**, pressing the **right arrow** from the Home Screen will cycle through the following menu screens in order. Each screen allows adjustment of a key parameter controlling how the sensor detects motion and triggers the camera. After the final screen, the menu loops back to the Home Screen.
1. [**Wireless Channel**](https://docs.camtraptions.com/books/pir-v4-manual/page/wireless-channel "Wireless Channel") – Set or disable the wireless transmission channel used to communicate with Camtraptions receivers.
2. [**Wide Sensor**](https://docs.camtraptions.com/books/pir-v4-manual/page/wide-sensor "Wide Sensor") – Control the behaviour and relative sensitivity of the wide-angle PIR sensor.
3. [**Far Sensor**](https://docs.camtraptions.com/books/pir-v4-manual/page/far-sensor "Far Sensor") – Control the behaviour and relative sensitivity of the narrow-field, long-range PIR sensor.
4. [**Num (Number)**](https://docs.camtraptions.com/books/pir-v4-manual/page/still-mode-settings "Still Mode Settings") – Define how many photos the sensor will take per detection (1–6).
5. [**FPS (Frames Per Second)**](https://docs.camtraptions.com/books/pir-v4-manual/page/still-mode-settings "Still Mode Settings") – Set the shooting interval between frames (0.25–3 fps).
6. [**Gap**](https://docs.camtraptions.com/books/pir-v4-manual/page/gap-time "Gap Time") – Specify a retrigger delay between sequences to control how soon the sensor is able to reactivate.
7. [**Wake**](https://docs.camtraptions.com/books/pir-v4-manual/page/wake-time "Wake Time") – Set a wake-up period to give cameras or flashes time to power up before triggering.
8. [**Set Time**](https://docs.camtraptions.com/books/pir-v4-manual/page/set-clock-time "Set Clock Time") – Adjust the sensor’s internal clock for accurate time-based functions.
9. [**Time Mode**](https://docs.camtraptions.com/books/pir-v4-manual/page/enable-time-windows "Enable Time Windows") – Enable or disable time windows that limit when the sensor is active.
10. [**Set On Time**](https://docs.camtraptions.com/books/pir-v4-manual/page/set-on-time "Window On Time") – Define the time of day when the sensor becomes active.
11. [**Set Off Time**](https://docs.camtraptions.com/books/pir-v4-manual/page/set-off-time "Window Off Time") – Define the time of day when the sensor becomes inactive.
12. [**External Wake**](https://docs.camtraptions.com/books/pir-v4-manual/page/external-wake "External Wake") – Schedule periodic half-press pulses to prevent connected equipment from sleeping.
13. [**Set Mode**](https://docs.camtraptions.com/books/pir-v4-manual/page/setting-the-operating-mode-stills-or-video "Setting the Operating Mode (Stills or Video)") – Switch between **Still** and **Video** operating modes.
After the **Set Mode** screen, pressing the **right arrow** again returns to the **Home Screen**.
# Still Mode Settings
When the sensor is set to **Still Mode**, two additional menu screens become available: **Number (NUM)** and **Frame Rate (FPS)**. These control how many photos are taken and how quickly they are captured when motion is detected.
### **Number (NUM)**
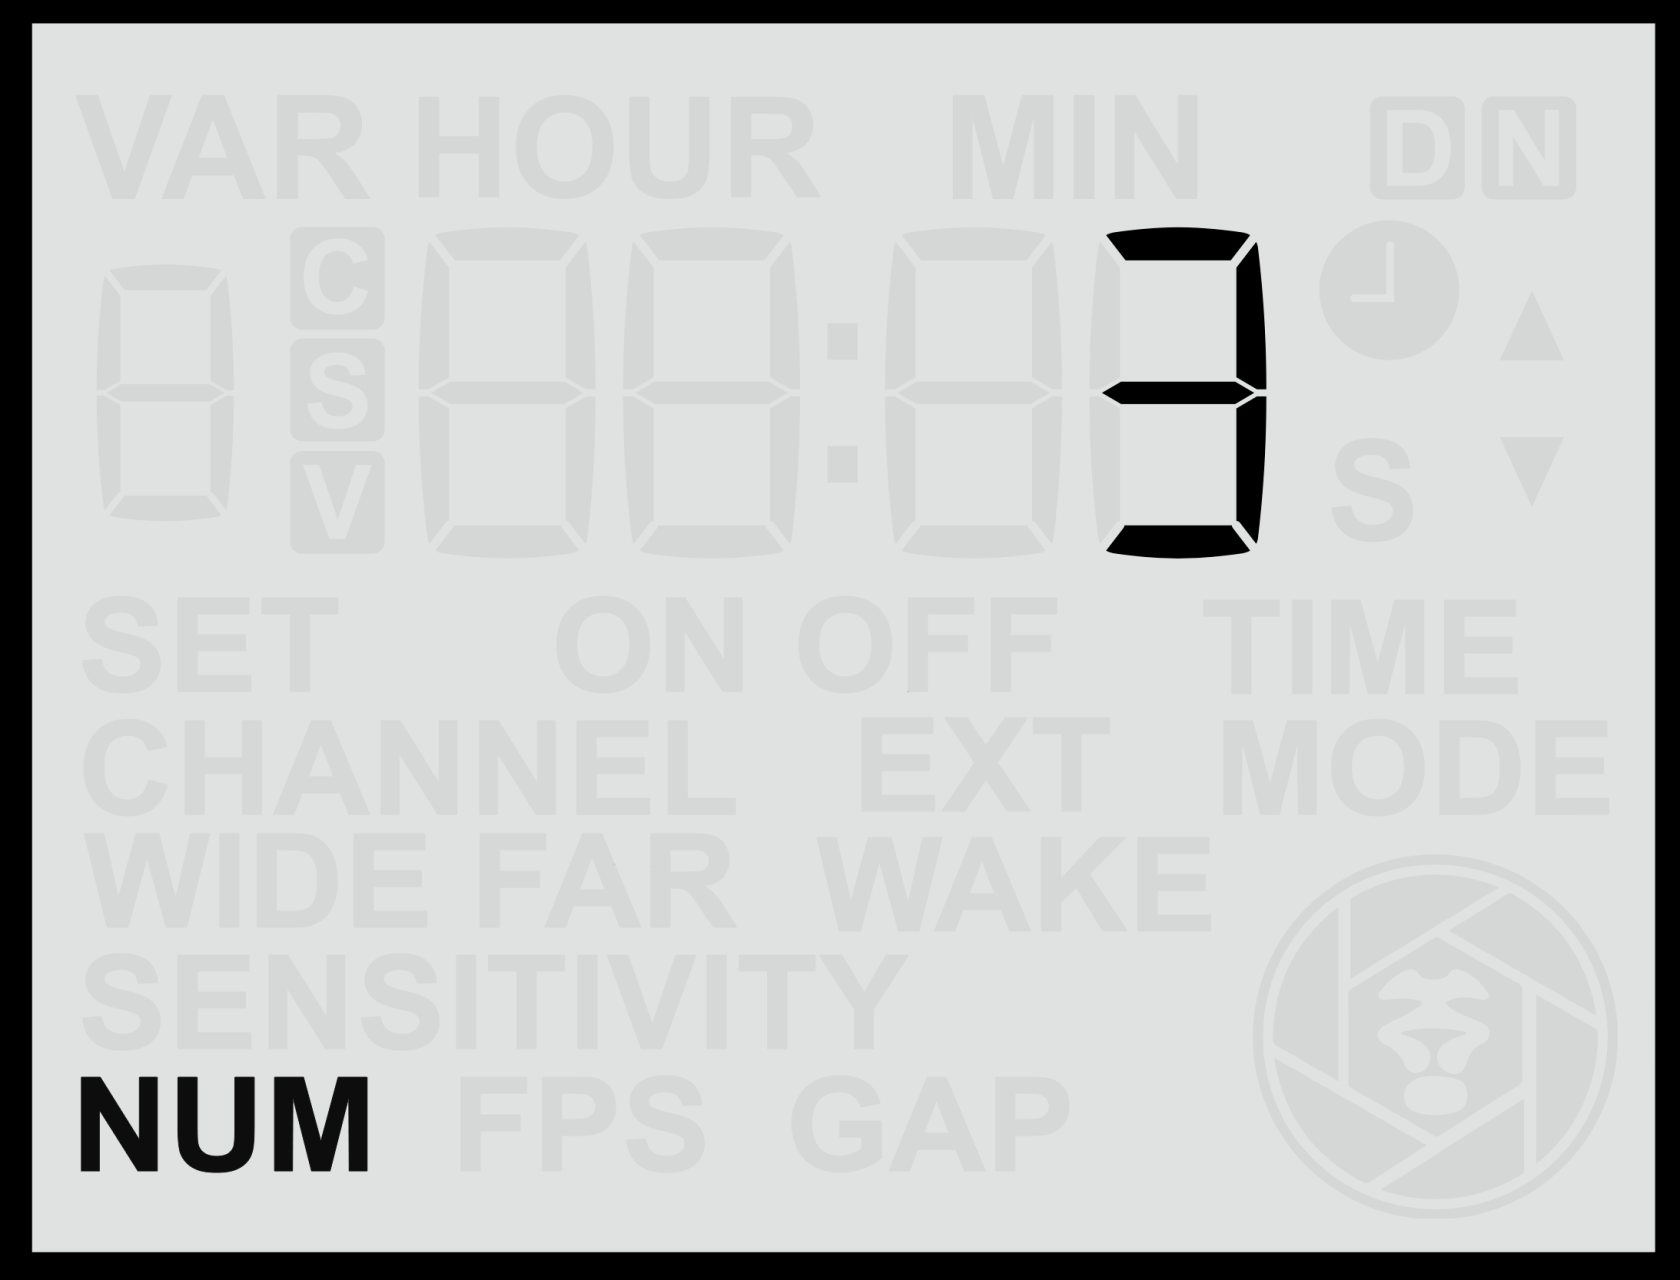
The **Number** screen lets you choose how many photos the camera will take each time motion is detected.
#### **Adjusting the Number of Photos**
1. From the **Home Screen**, press the **Right Arrow** until you reach the **NUM** screen.
2. Use the **Up** or **Down** buttons to select a value between **1** and **6**.
3. Press the **Set** button to **save** your selection.
This value determines the total number of photos that will be captured per detection event.
For example, setting **NUM = 5** means the camera will take five photos each time the sensor detects motion.
### **Frame Rate (FPS)**
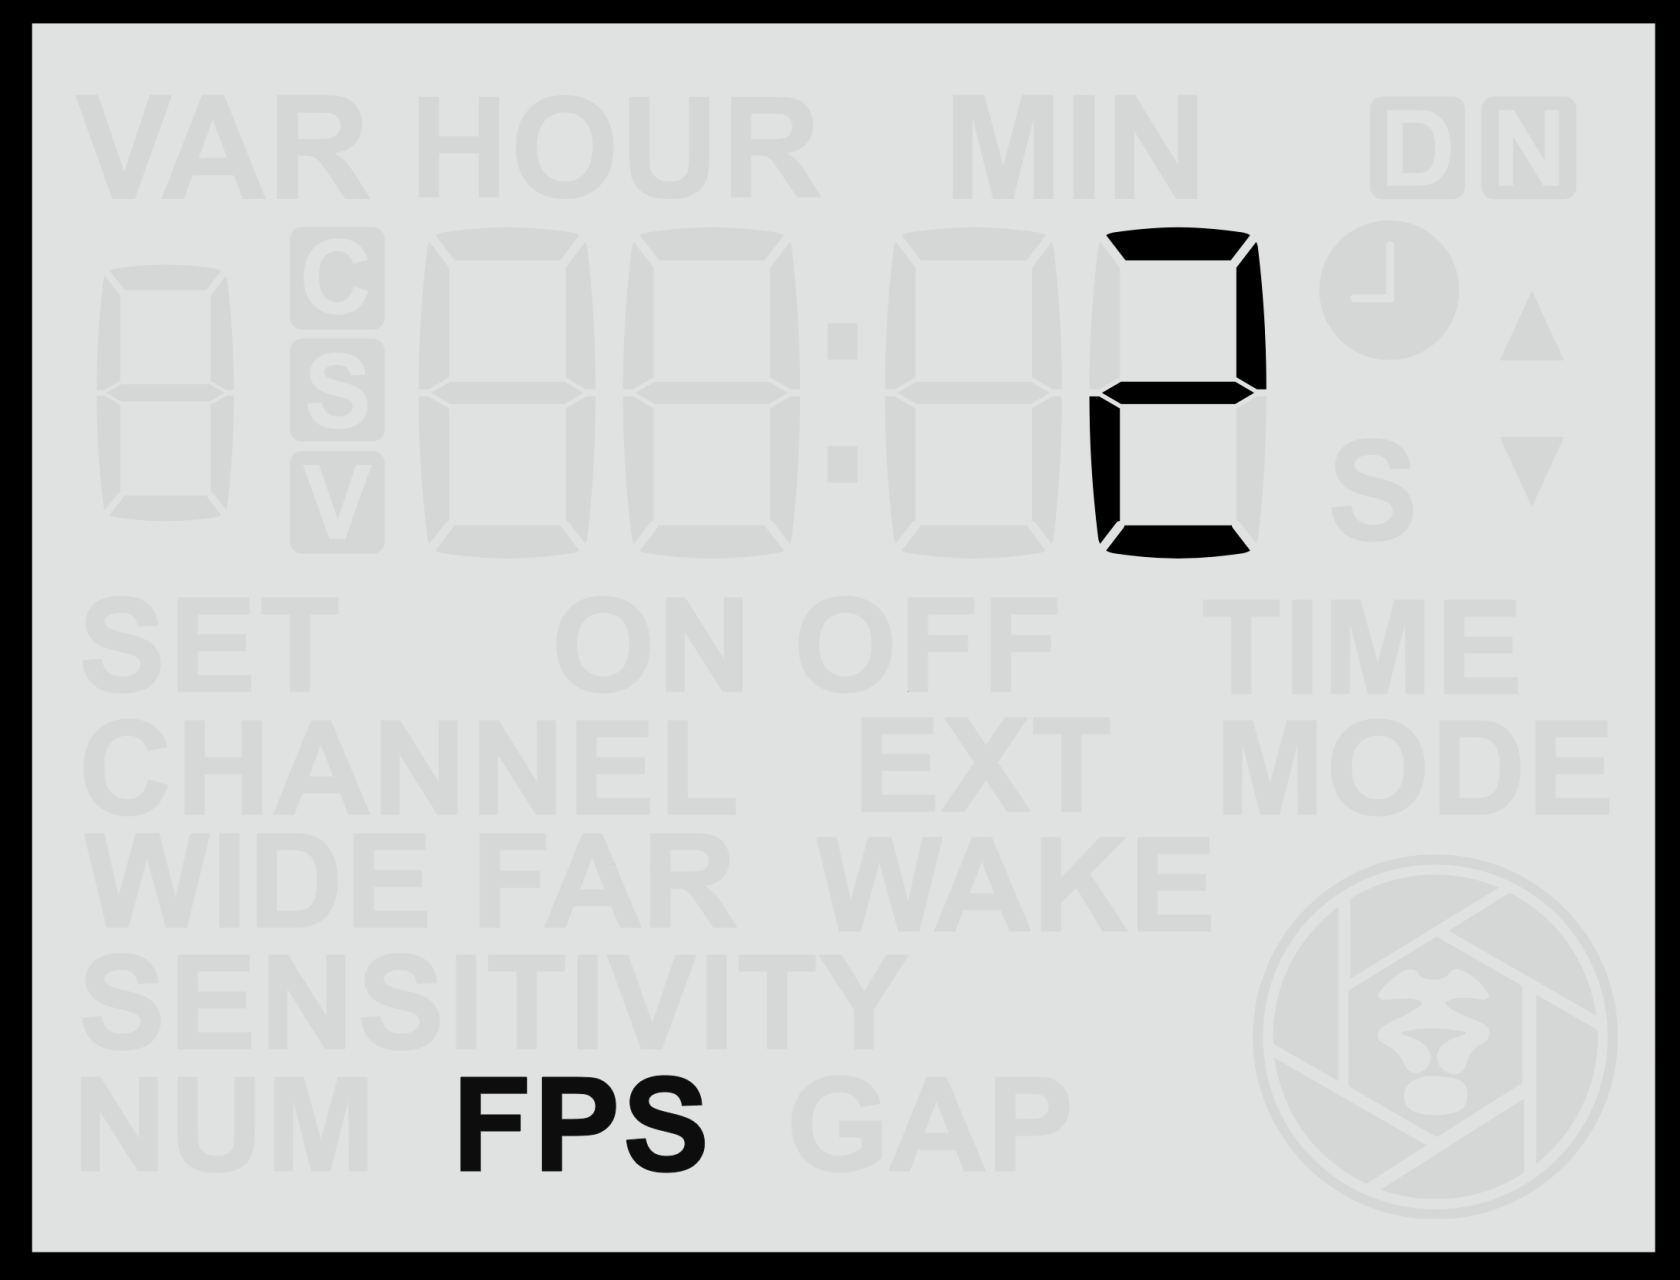
The **Frame Rate (FPS)** screen determines how quickly the photos in each sequence are taken — that is, how many frames are captured per second during a detection event.
#### **Adjusting the Frame Rate**
1. From the **Home Screen**, press the **Right Arrow** until you reach the **FPS** screen.
2. Use the **Up** or **Down** buttons to select the desired frame rate.
3. Press the **Set** button to **save** your selection.
The available frame rate range is **0.25 to 3.0 FPS**, where:
- **3.0 FPS** = Three photos per second (maximum speed).
- **1.0 FPS** = One photo per second.
- **0.5 FPS** = One photo every two seconds.
- **0.25 FPS** = One photo every four seconds (minimum speed).
For example, if **NUM = 5** and **FPS = 1.0**, the camera will take five photos over five seconds.
If **FPS = 2.0**, those same five photos will be captured over 2.5 seconds.
#### **Notes**
- Higher FPS settings capture faster sequences but may increase camera buffer use and flash cycle demands, and may also be more disturbing to animals when using flash.
- Lower FPS settings conserve battery and flash power and can be useful for monitoring slower-moving subjects.
# Suggested Camera Settings (Stills)
The following guide provides a **recommended starting configuration** for your camera when using the Camtraptions PIR Sensor v4. These settings are designed to produce reliable, well-exposed results in a wide range of conditions, both **day and night**.
This configuration is just one example — feel free to experiment with different settings to achieve specific creative effects or adapt to particular lighting conditions.
- **Focus Mode:** Set the camera to **Manual Focus** and pre-focus on the point where you expect the animal to trigger the sensor.
- **Drive Mode:** Set the camera to **Single Shot** mode rather than continuous drive. The sensor will automatically control the number of images and frame rate during each trigger sequence.
- **ISO Setting:** Use **Auto ISO** so the camera can automatically adjust to changing light levels.
- Optional: Limit the **maximum ISO** to around **1600 or 3200** to prevent excessive noise at night.
- **Exposure Mode:** Set the camera to **Manual Exposure** mode.
- Use a **shutter speed of 1/200 s** to avoid motion blur or ghosting.
- Choose an **aperture of around f/8** to provide sufficient depth of field and ensure the image is not overexposed in bright daylight at base ISO.
- **Image Stabilisation:** If your lens includes **image stabilisation (IS)** or **vibration reduction (VR)**, **disable it**. (These systems are unnecessary in a stationary setup.)
- **Power Saving:** Enable the camera’s **auto power-off** function so it powers down automatically after about **30 seconds** of inactivity.
- **Image Review:** Turn **off automatic image review** after each shot to conserve battery power.
- **Flash Power:**
- Set each flash to **manual power mode** and adjust output to correctly expose the subject **in complete darkness**, based on your chosen manual exposure settings at the **maximum ISO** expected from Auto ISO.
- As ambient light increases, the ISO will decrease, and the contribution from the flashes will naturally become less significant.
- **Image Format:** Shoot in **RAW** to retain maximum flexibility for adjusting exposure and brightness during post-processing.
This setup offers a dependable baseline that balances **exposure, responsiveness, and image quality**. Once you have verified that your sensor and flashes are triggering reliably, you can fine-tune exposure settings, flash ratios, or ISO limits to suit your specific environment and creative goals.